Looking to work up a sweat and burn excess body fat while finding your inner zen? Try this 10-minute fat-burning yoga workout…
Think yoga is all about sitting around and chanting ‘om’? Think again. Yogis across the globe tend to have light and agile bodies because yoga, especially the dynamic sequences we bring you in this fat-burning workout, can increase the heart rate while also working the muscles deeply. That’s one of the best ways to burn fat while toning muscle.
Try the Sundried Non-Slip Jute Yoga Mat
BUY IT NOW:
£18.90 / amazon.co.uk
This 10 minute fat-burning yoga workout is designed to guide you into higher and more challenging variations to ensure you’re never ‘slacking off’. This section is about hard work – but remember – it’s only 10 minutes!
Related: What is yoga? Benefits & basic principles for beginners
How to do this 10-minute fat-burning yoga workout:
Before starting this 10-minute fat-burning yoga workout, be sure to warm up your body thoroughly with our full-body yoga warm up. Next, do five rounds of this basic Sun salutation A sequence. Then, try to work through the following sequence. Put maximum energy into two rounds of this circuit without stopping…
10-minute fat-burning yoga workout
- (Warm-up)
- (Sun Salutation A)
- Twisting plank – Do 10 alternating legs.
- Downward-facing dog splits – Do five to 10 on each side.
- Dynamic boat – Do 10 in and out
- Locust – Do three to five times
- Bow – Do three to five times.
- Pigeon – Hold for five to 10 breaths.
- Happy baby – Hold for 10 to 20 breaths.
- Savasana pose (relaxation)
Below, we’ve included detailed instructions and handy images for each yoga pose and exercise to help you master this 10 minute fat-burning yoga workout…
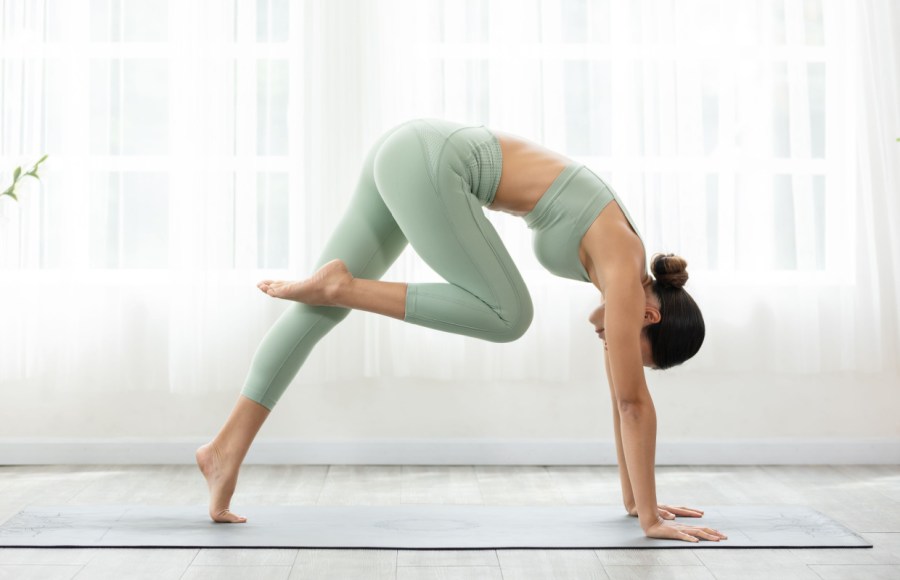
Twisting plank pose
Benefits: Works the entire oblique muscles at the side of your body, both superficial and deep. It is also great for getting your heart rate up and warming your body.
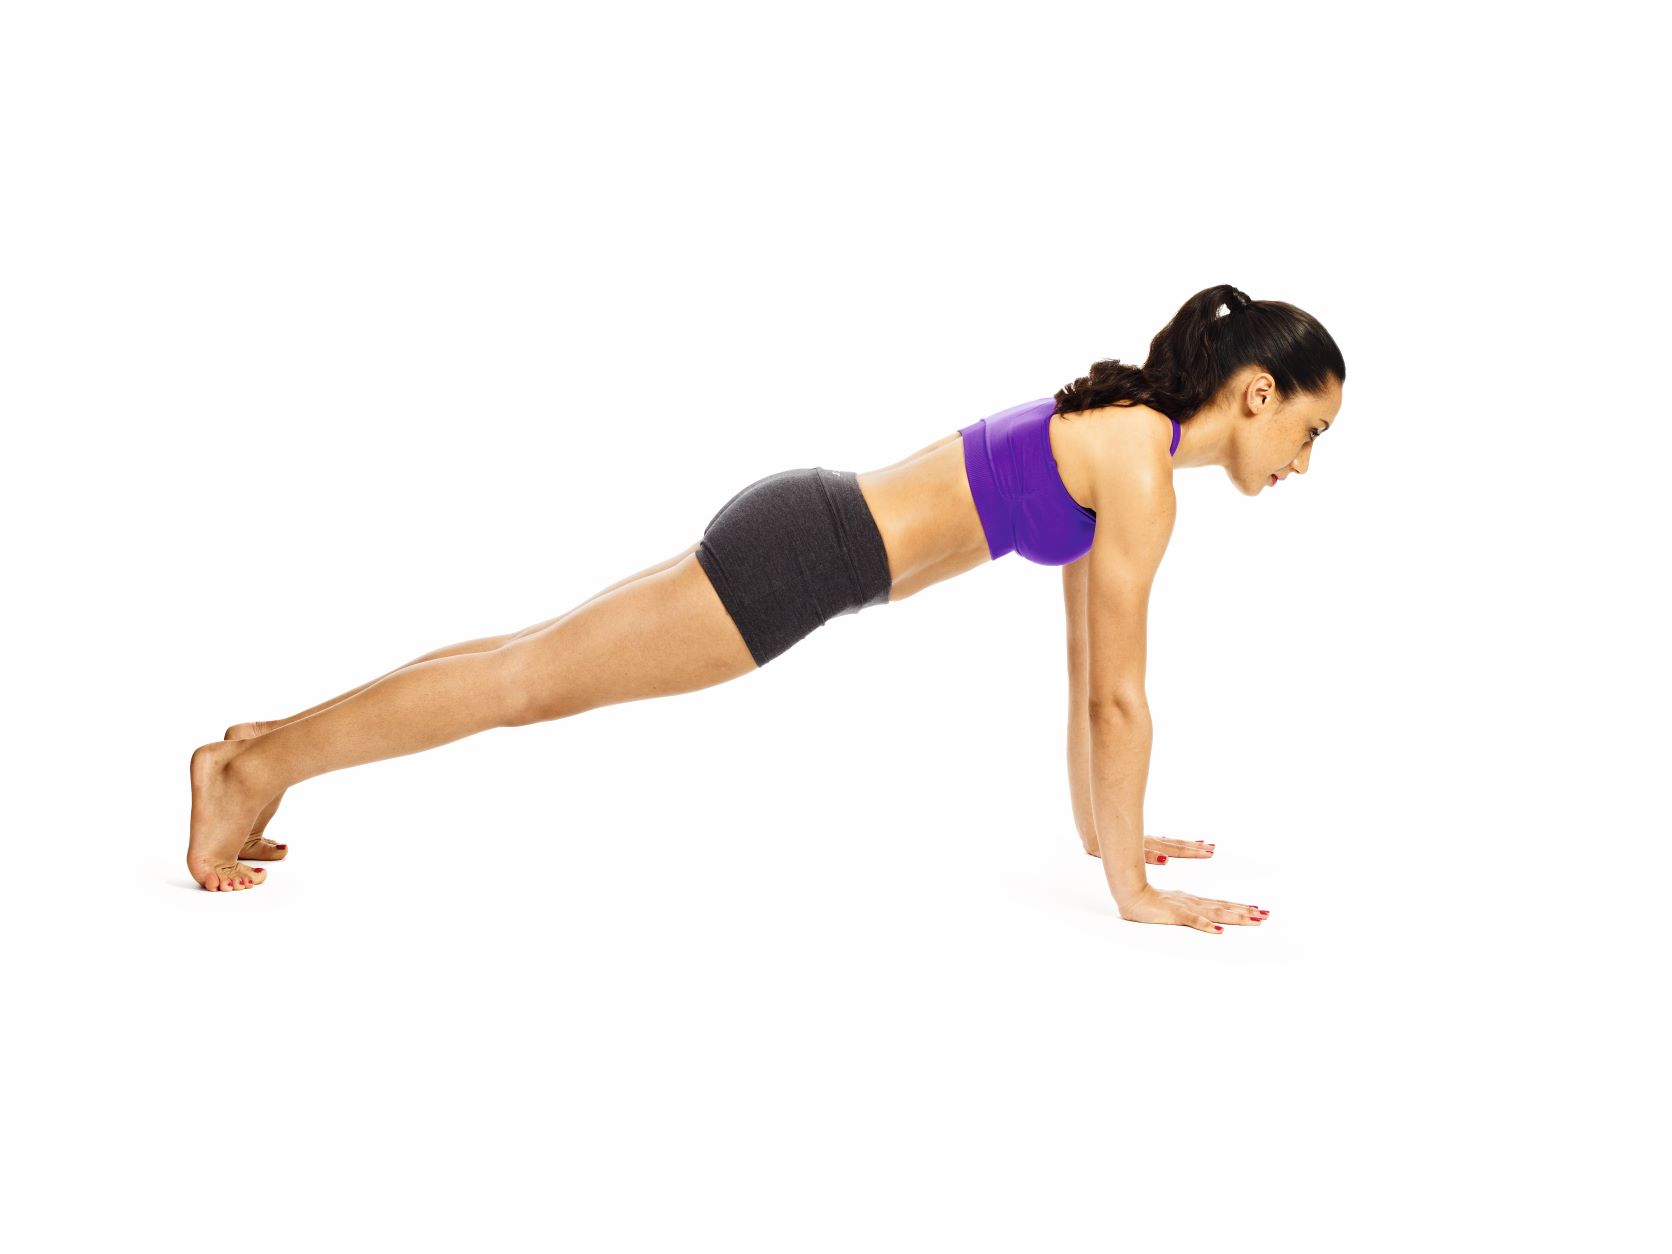

- Start on all fours with your hands shoulder-width apart directly under your shoulders.
- Inhale, tuck your toes under and straighten your legs so you’re in one diagonal line from your head sloping down to your feet. (A)
- Exhale and tuck your chin in slightly. Keep the back of your neck long like there’s an invisible straight line from head to spine.
- Engage your abdominals and core, drawing them towards your spine. Keep breath even and long.
- Round your upper back to broaden and spread your shoulder blades apart.
- Root your palms into the floor with your fingers fanning out, elbows straight but not locked.
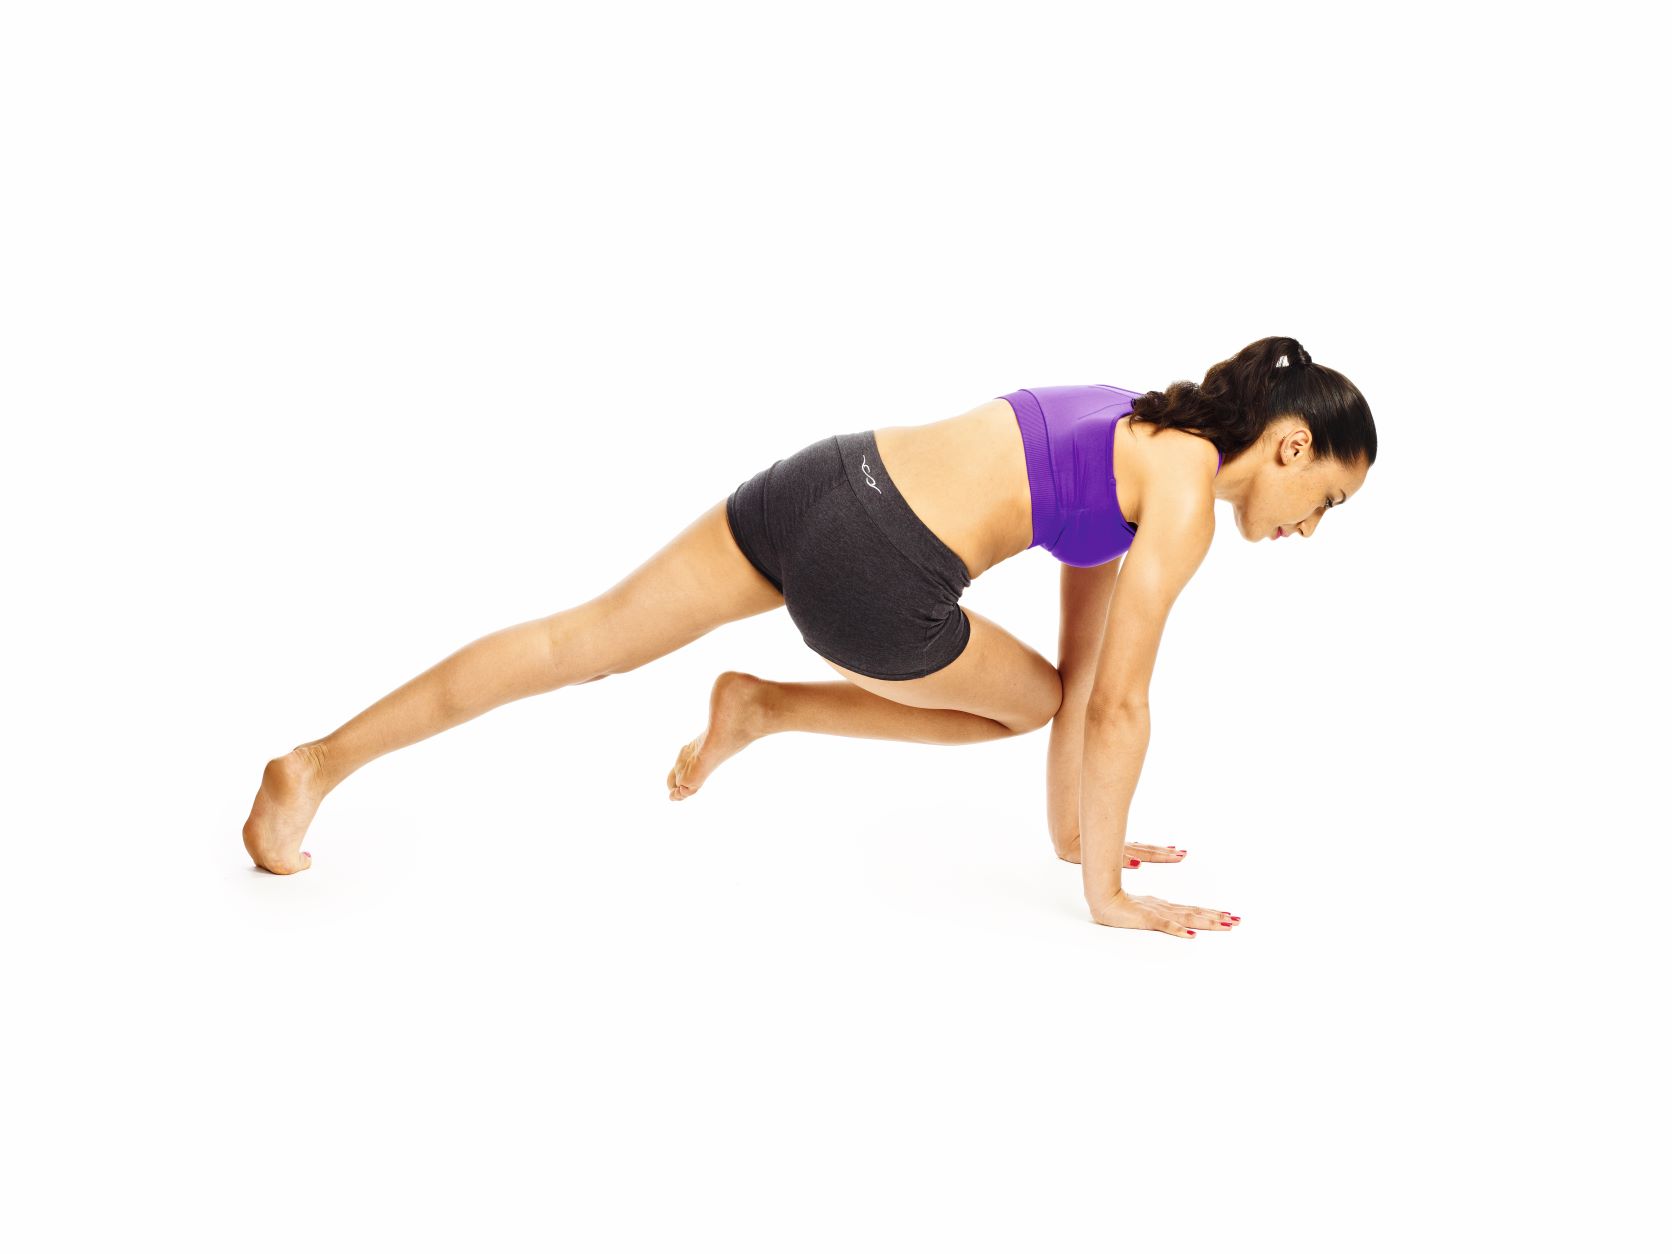
- On an inhalation, engaging your core and keeping your Plank stance steady, twist your body to bring your right knee up and under your body towards your left armpit. (B)
- With control, repeat with your left leg bending and left knee coming to your right armpit. (C)
- Do 10 alternating poses, keeping that stance steady.
- Rest and repeat.
Beginners: Make sure you start slowly with 3-5 reps before building up to the full sequence.
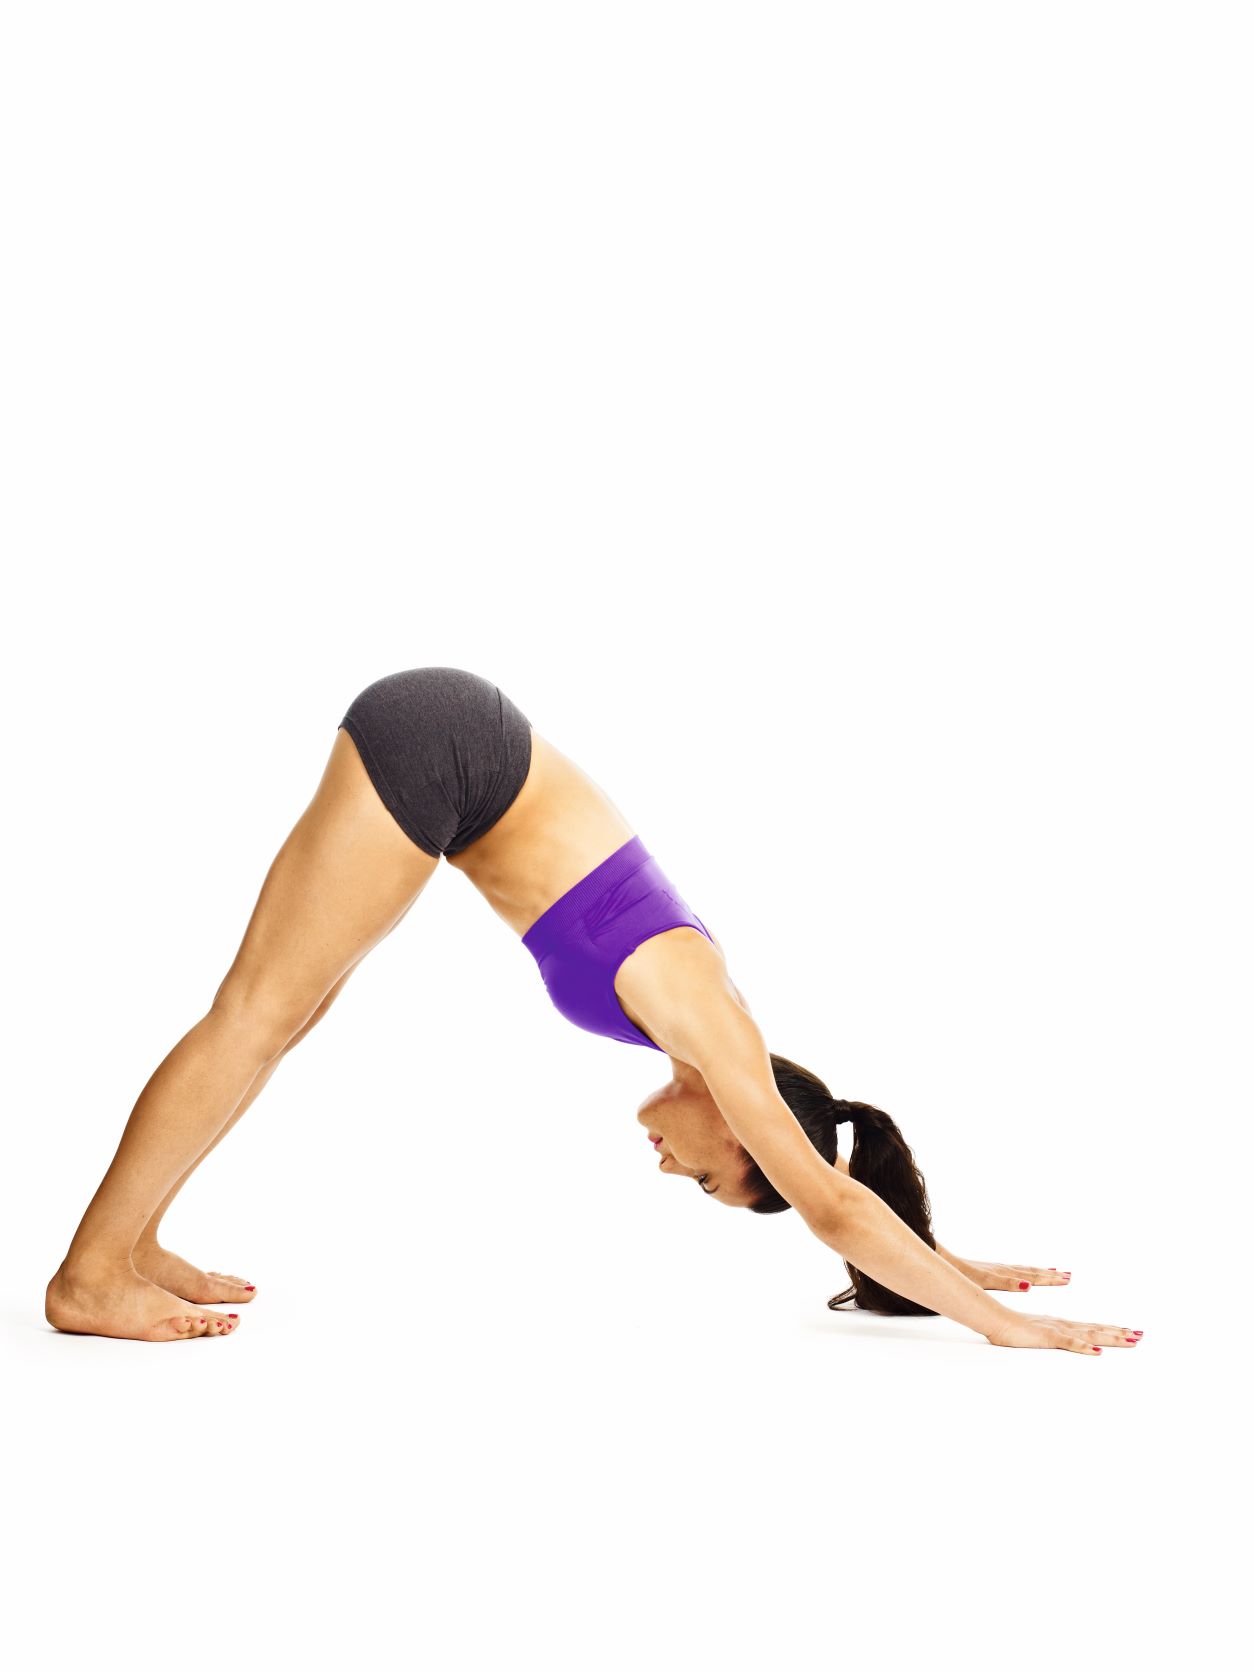
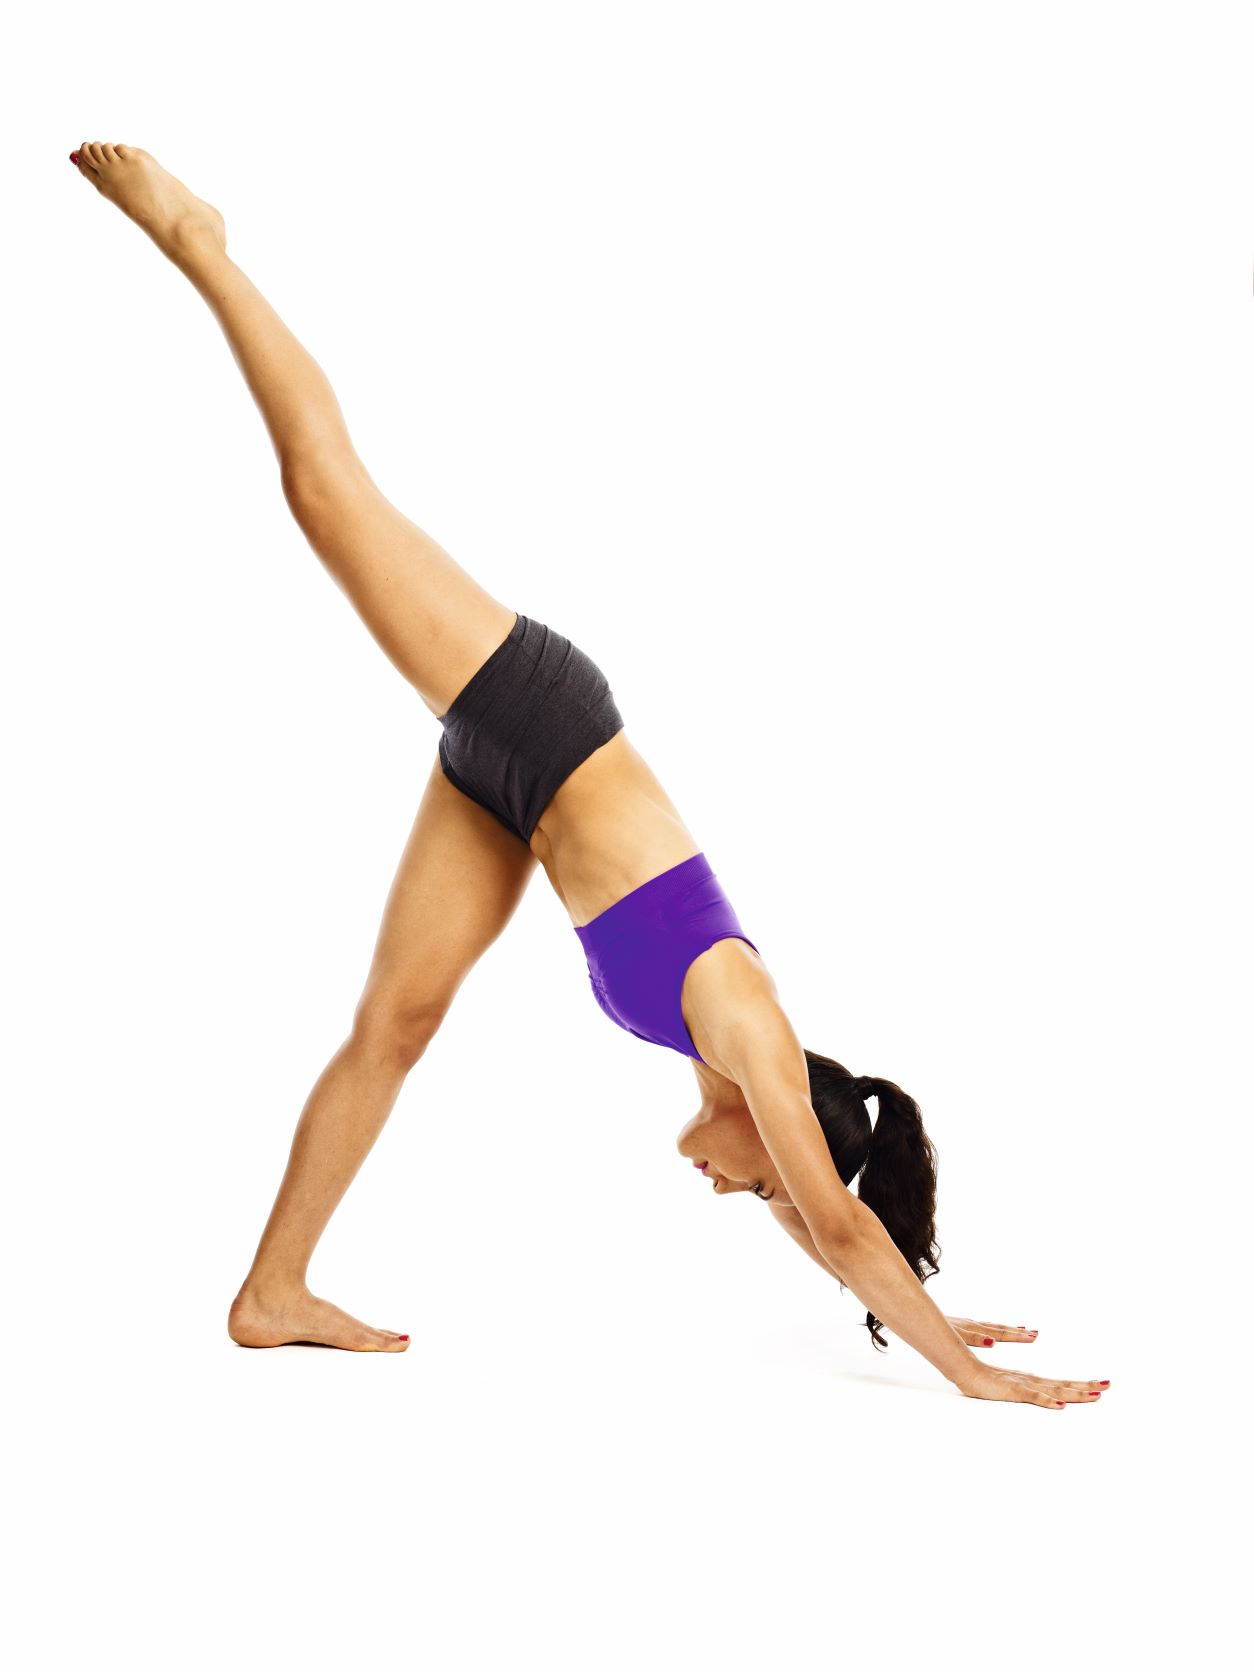
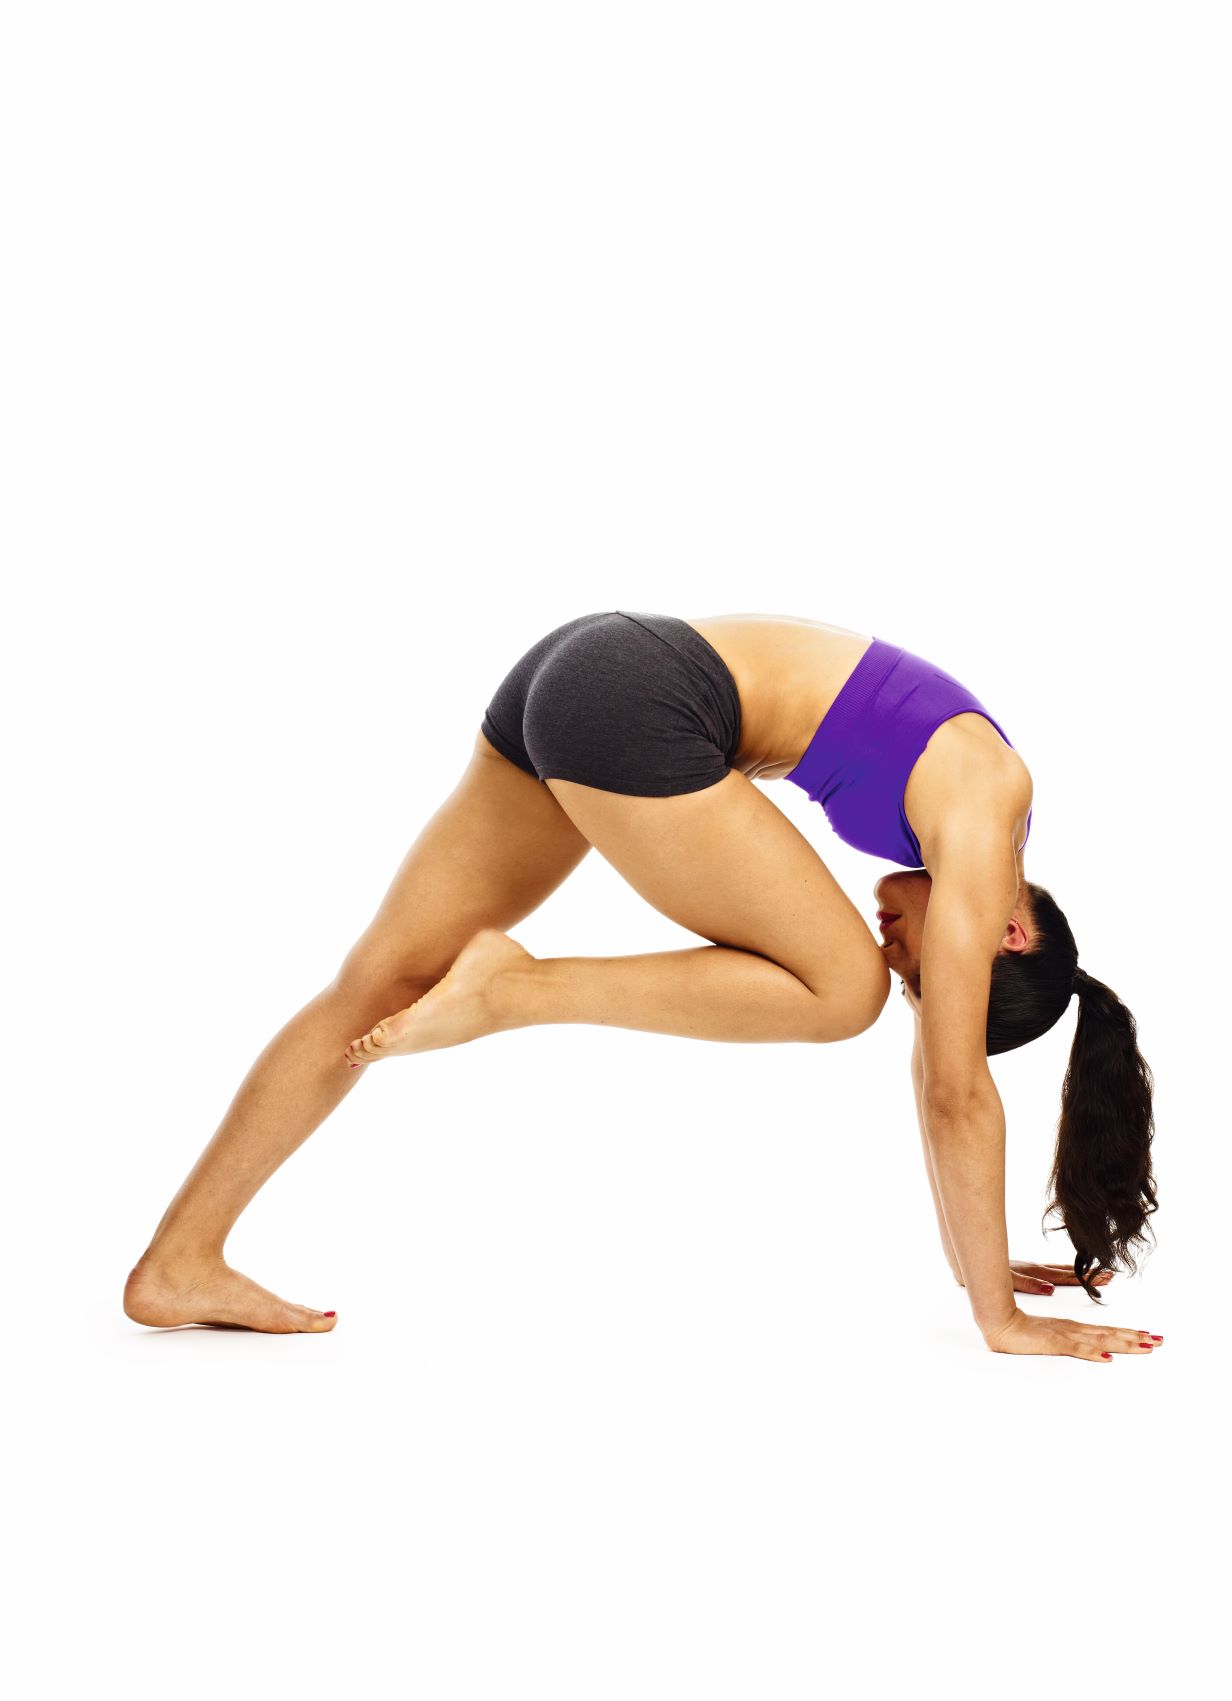
Downward-facing dog splits and head-to-knee sequence
Benefits: Warms your body and stretches the hamstrings, ankles and calves. Strengthens your arms, legs, bottom and shoulders.
- Kneel on all fours, your legs hip-width apart, hands under your shoulders and your fingers fanning out.
- Exhale and curl your toes under, straighten your arms to lift your upper body and extend your legs to lift your hips up.
- Draw your shoulder blades back and relax your head.
- Draw in your abdominals, engage up your thigh muscles and stretch your heels back.
- Straighten your legs, Point your tailbone to the ceiling. (A) (Beginners or those with tight hamstrings, keep a slight bend in your legs).
- Press your heels towards the floor. Focus on lengthening your legs and lifting your tailbone.
- Now inhale and bring your right leg straight up behind you, pointing the toe. (B)
- Exhale and bend your right knee, bringing it forwards under your body.
- Bring your head down to meet your knee, as if you’re going to give it a kiss! Inhale as you stretch your back leg out. (C)
- Repeat five to 10 times on each side.
- Rest for a couple of breaths, then repeat.
Tip: Make sure you don’t strain your neck. The point is to create heat in your body and this will happen whether your head touches your knee or not. Go only as far as feels good.
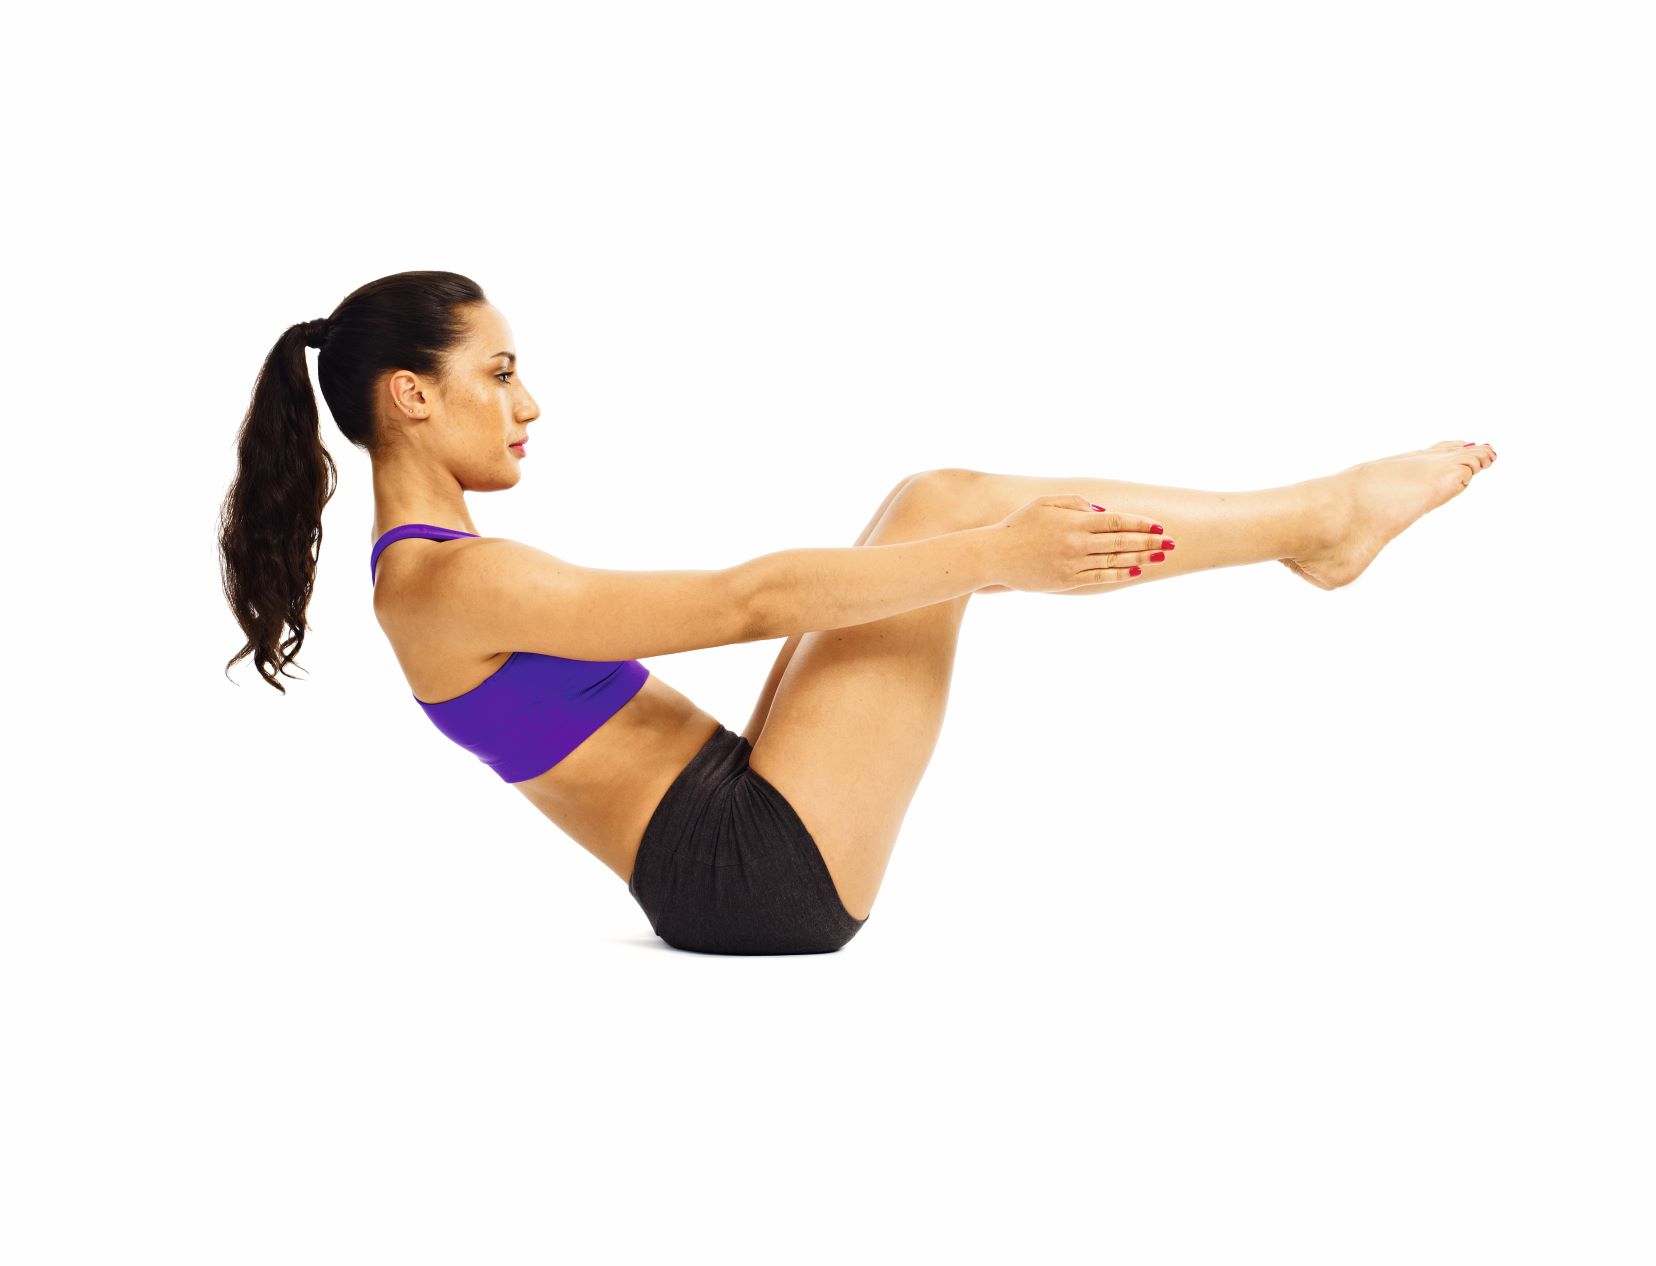
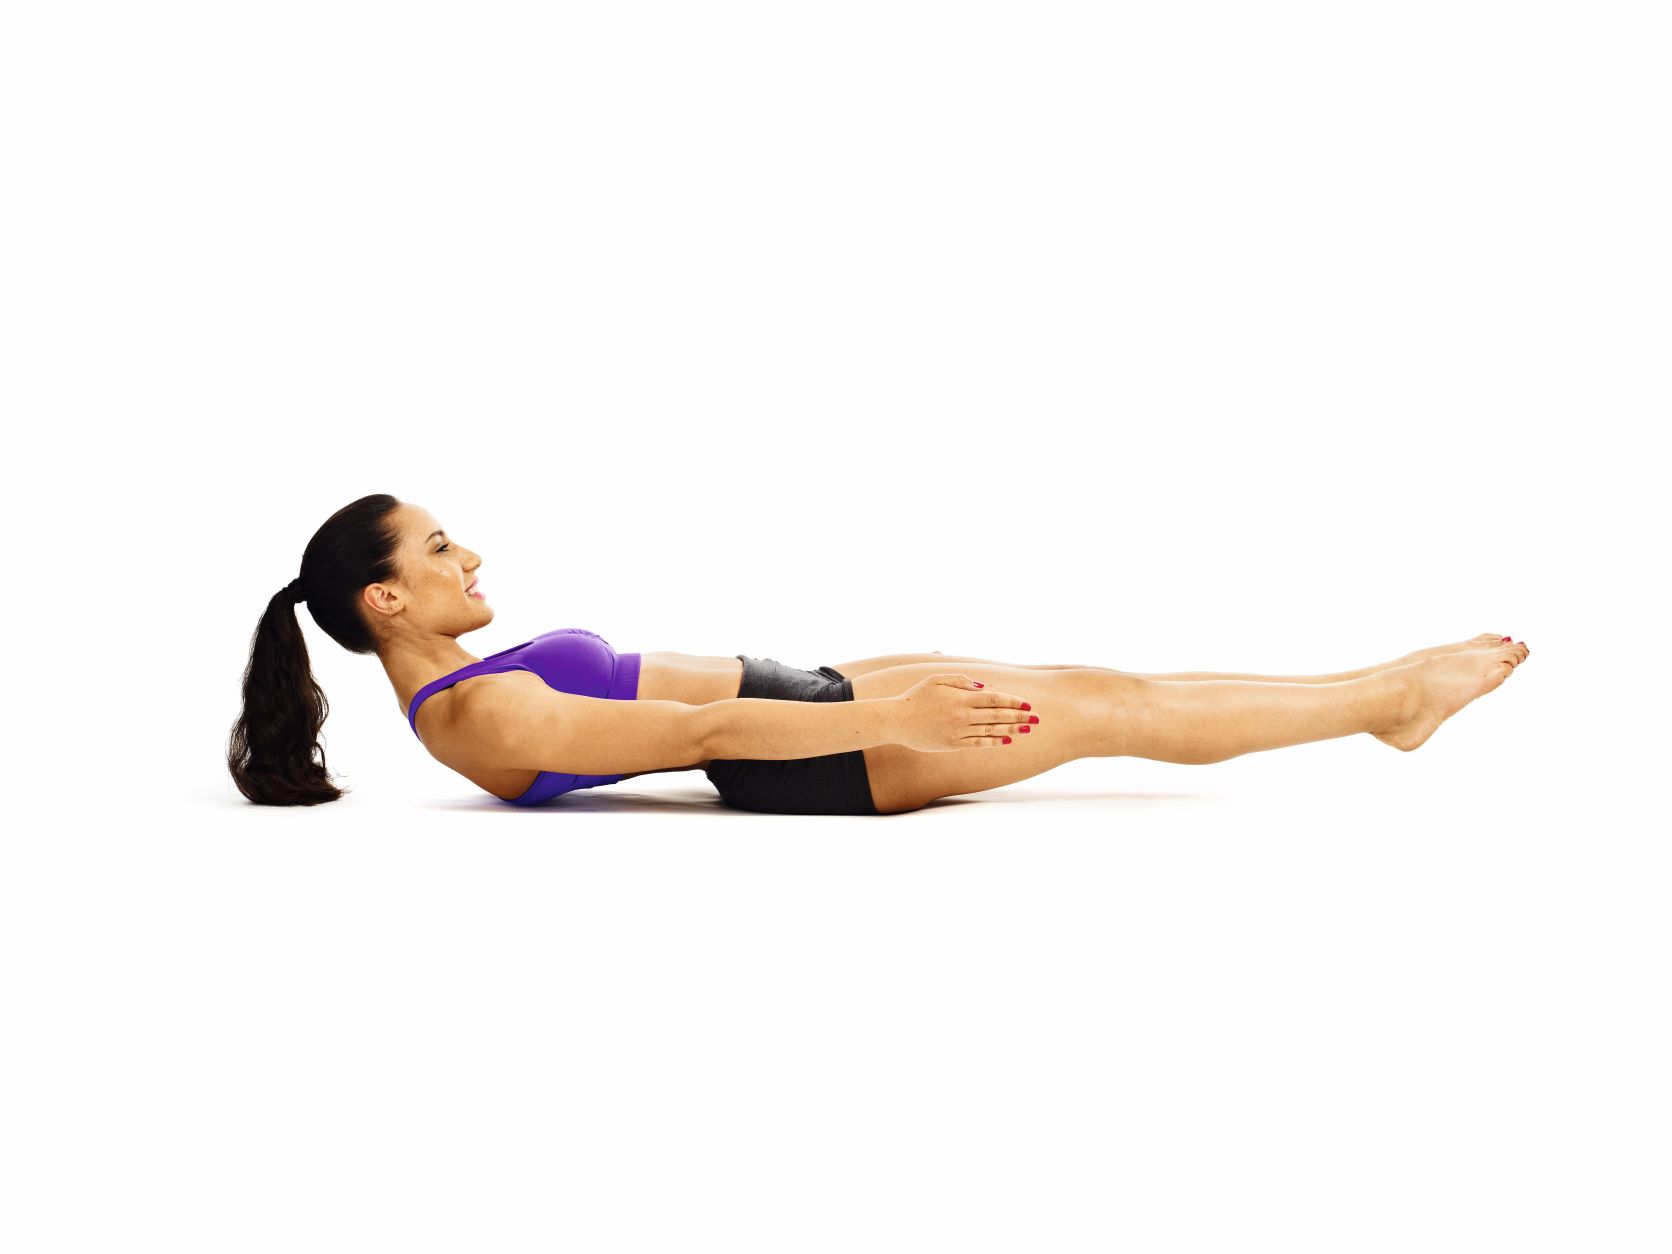
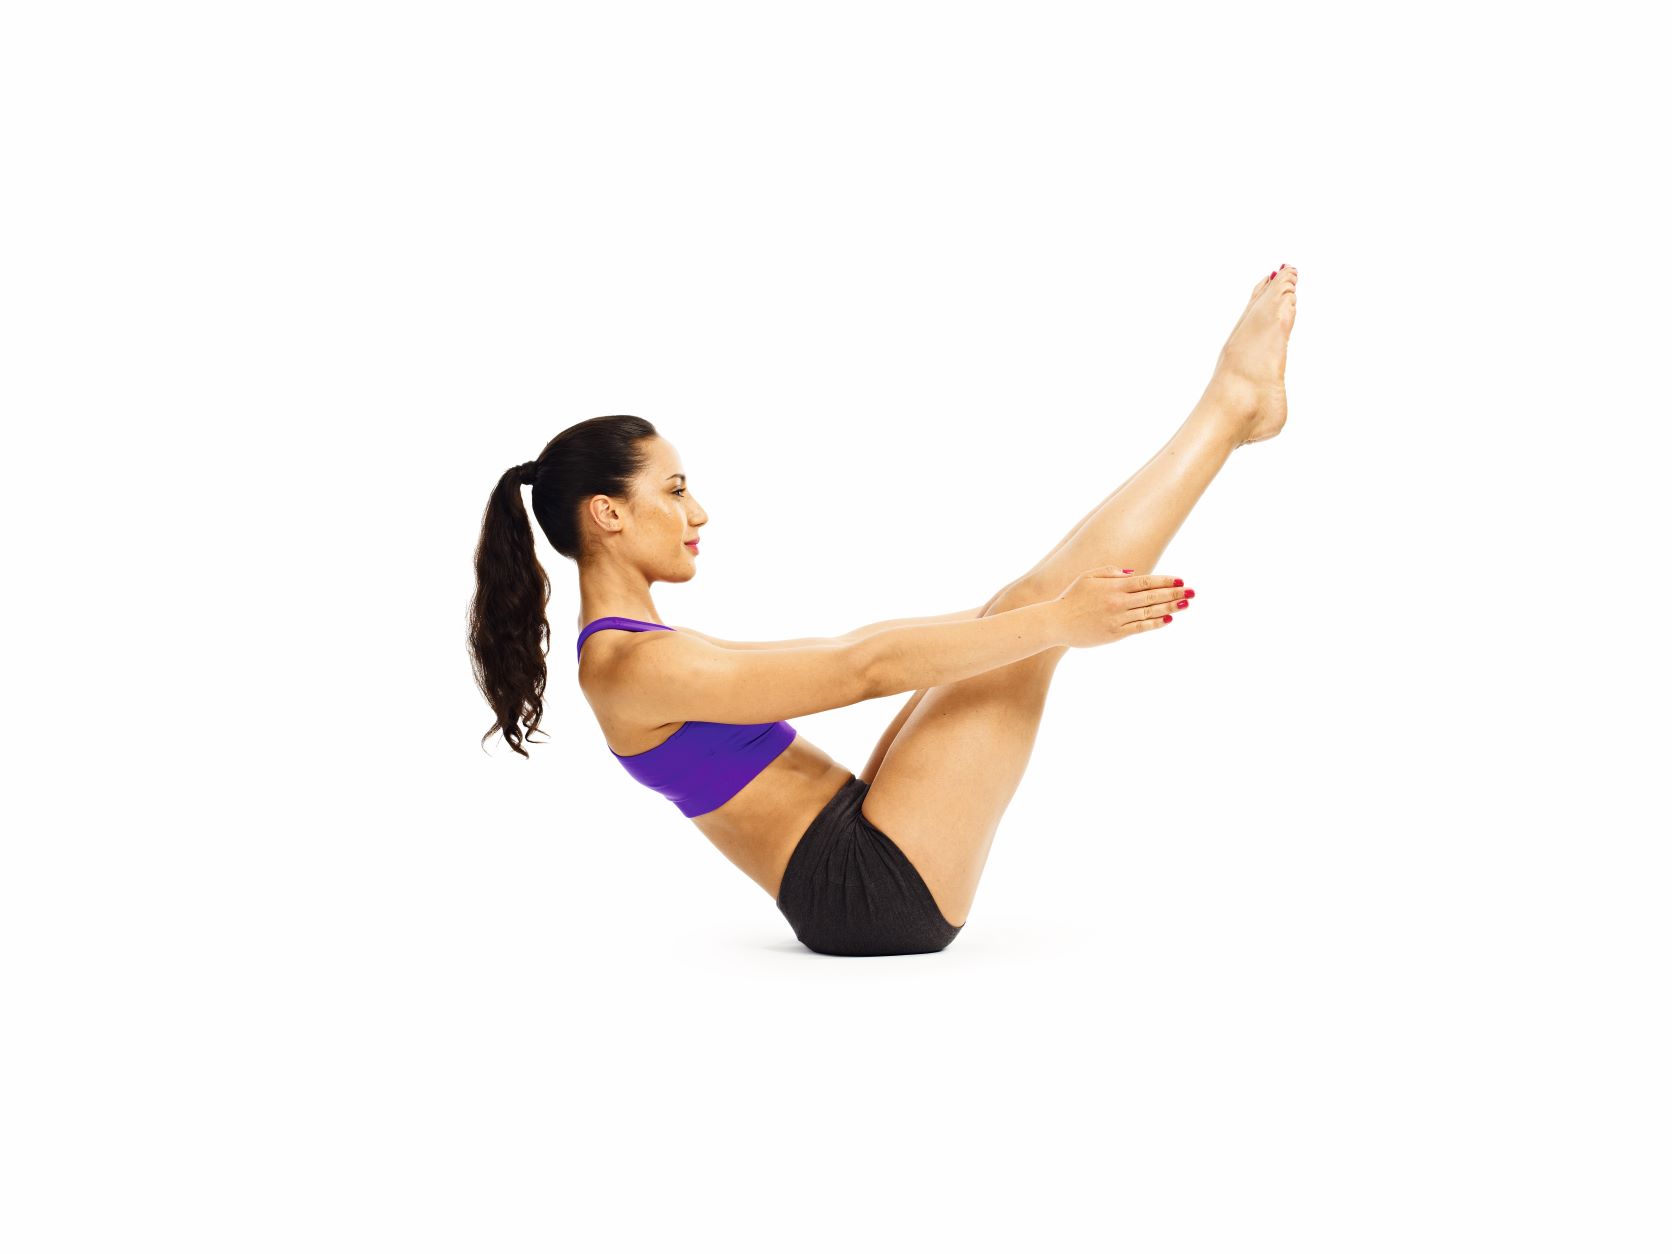
Dynamic boat pose
Benefits: Deeply tones your tummy muscles and spine, warms your body and gets your heart rate up.
- Sit on the floor with your legs out straight in front of you.
- Inhale and lift your feet off the floor a few inches. Hold the backs of your thighs.
- Engage your core and move your torso diagonally back so you balance on your tailbone. This is stage one.
- (Absolute beginners: practise this by taking five breaths here).
- Now, lift your feet and keep your knees bent so your shins are parallel to the floor at a 90° angle. Continue to balance on your tailbone. (A)
- On the next exhale, lower your torso back until you’re about 10cm from the floor, and straighten your legs out. (B)
- Move back up to A. Repeat this in-out movement 10 times (in and out equals one time).
Intermediate:
- When you feel comfortable with the above, take your arms from your thighs and straighten them out parallel to the floor.
- Now straighten your legs out in front of you so your torso and legs are at a 45° angle from the floor, toes gently pointing up, your feet relaxed and tummy engaged.
- If you feel strong and supple, take your arms away from your thighs and stretch them out parallel to the floor, palms facing each other. (C)
- On an exhalation, lower your torso back until you’re about 10cm from the floor and straighten your legs out. Move back to C.
- Repeat this in-out movement 10 times (in and out equals one time).
Tip: To balance on your tailbone, squeeze your abdominal muscles for support, keep your chest lifted and open, shoulders back and relaxed, and lower back lifted.
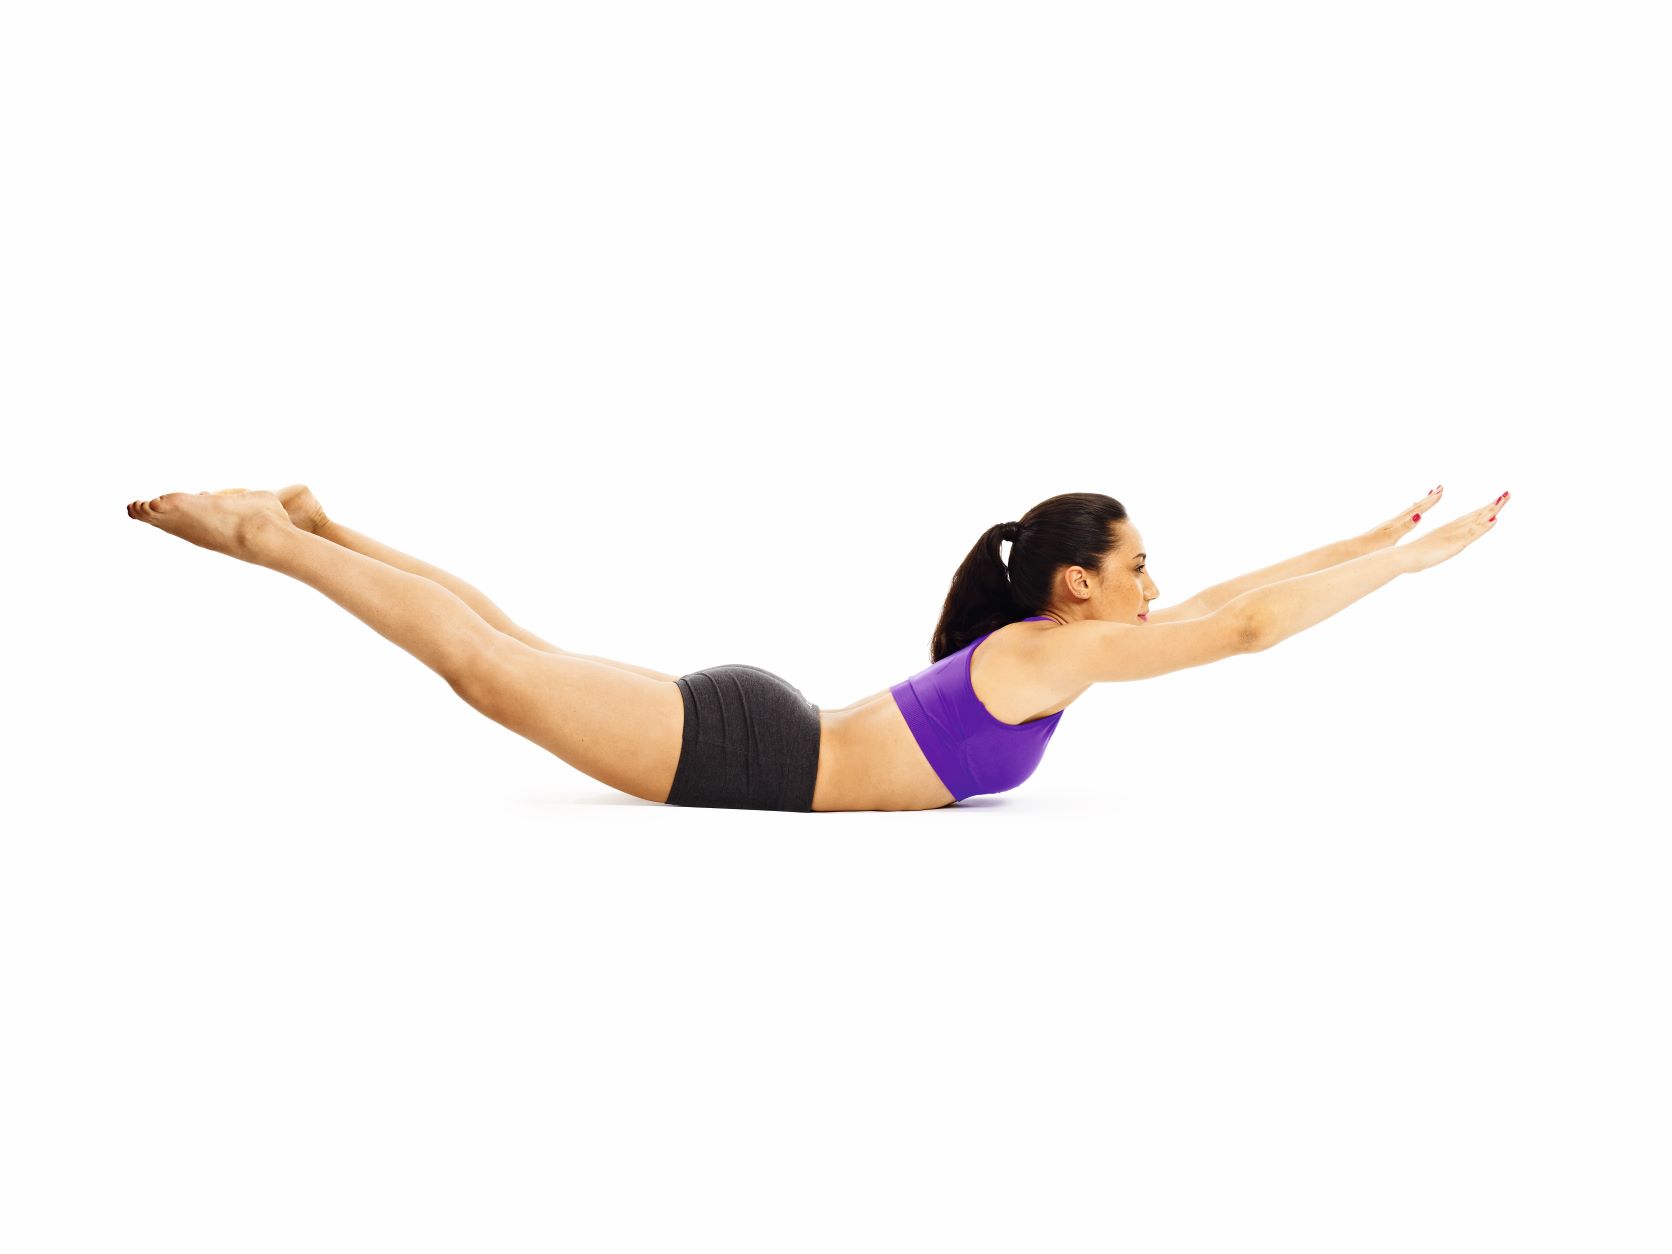
Locust (Salabasana)
Benefits: Warms your body and increases your heart rate. Works your hamstrings, bottom, buttocks and lower back. Stretches your spine and core, and improves posture.
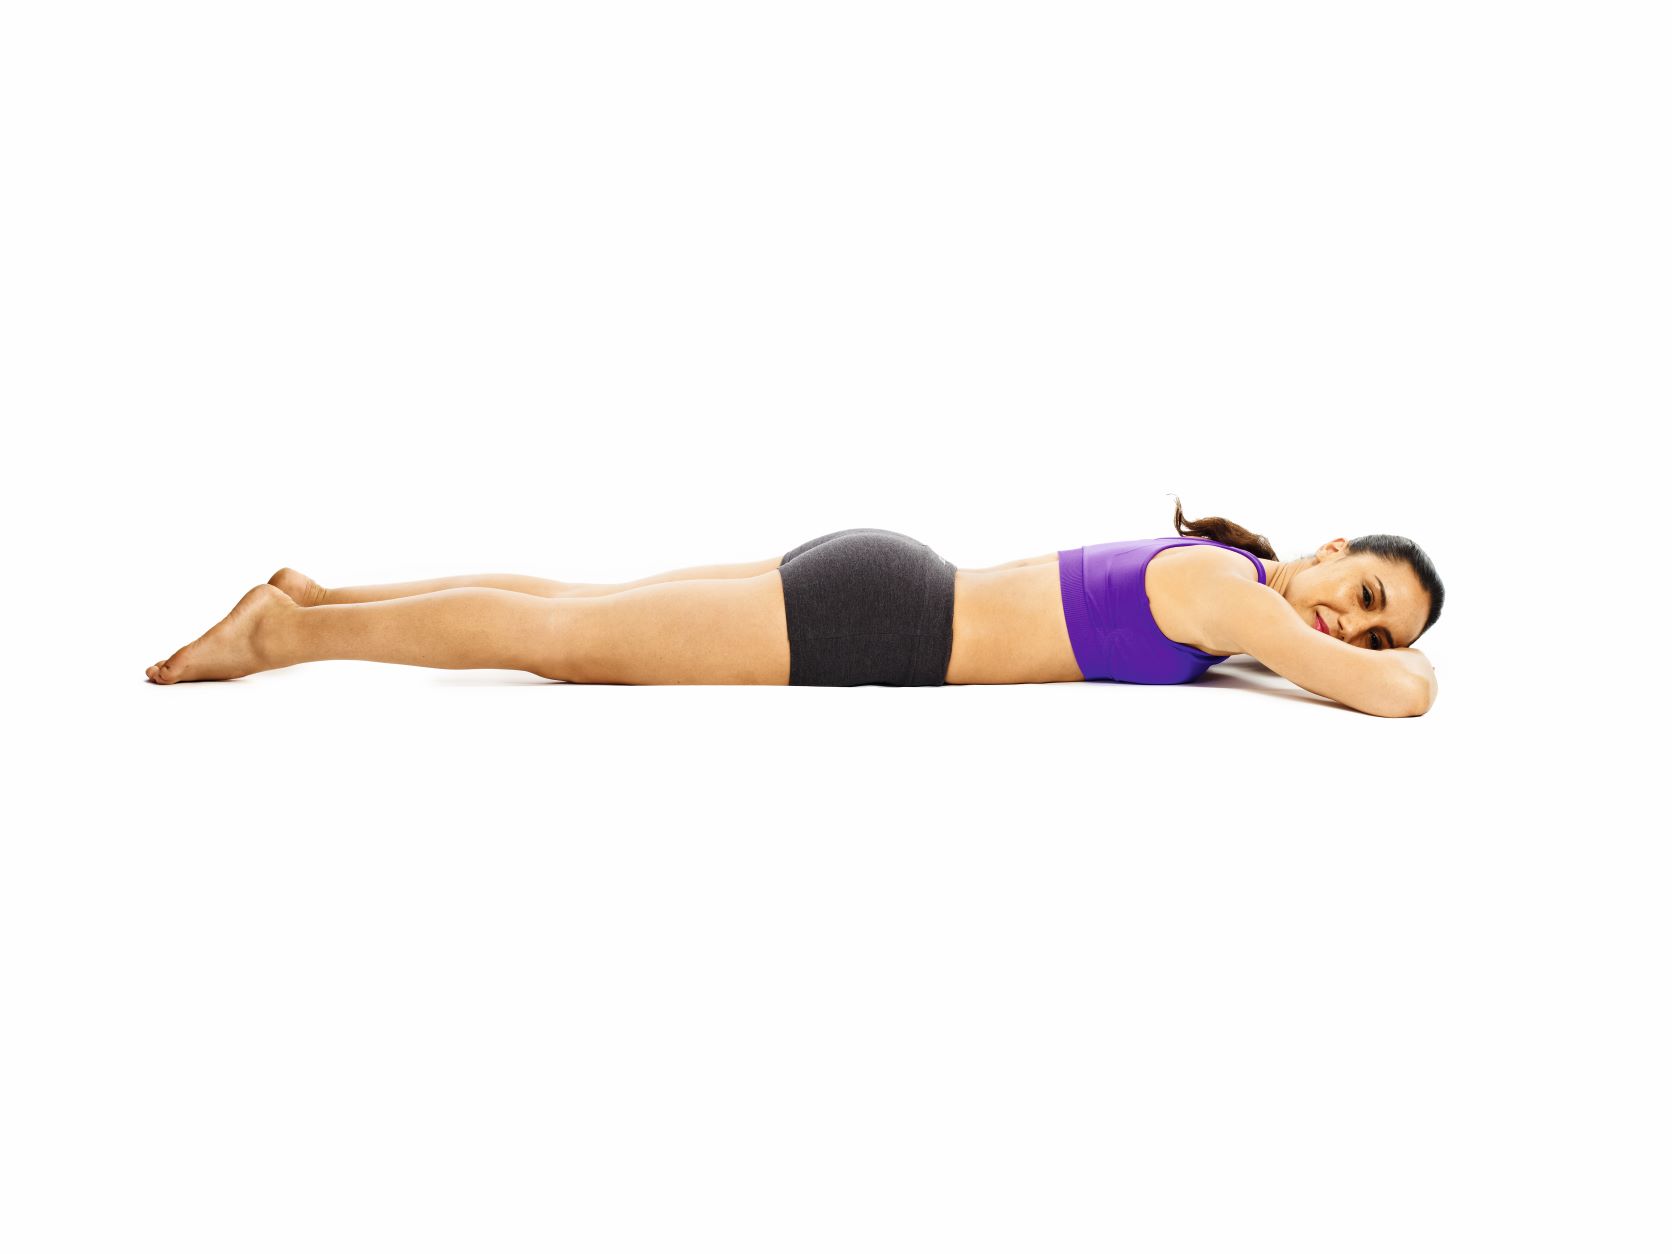
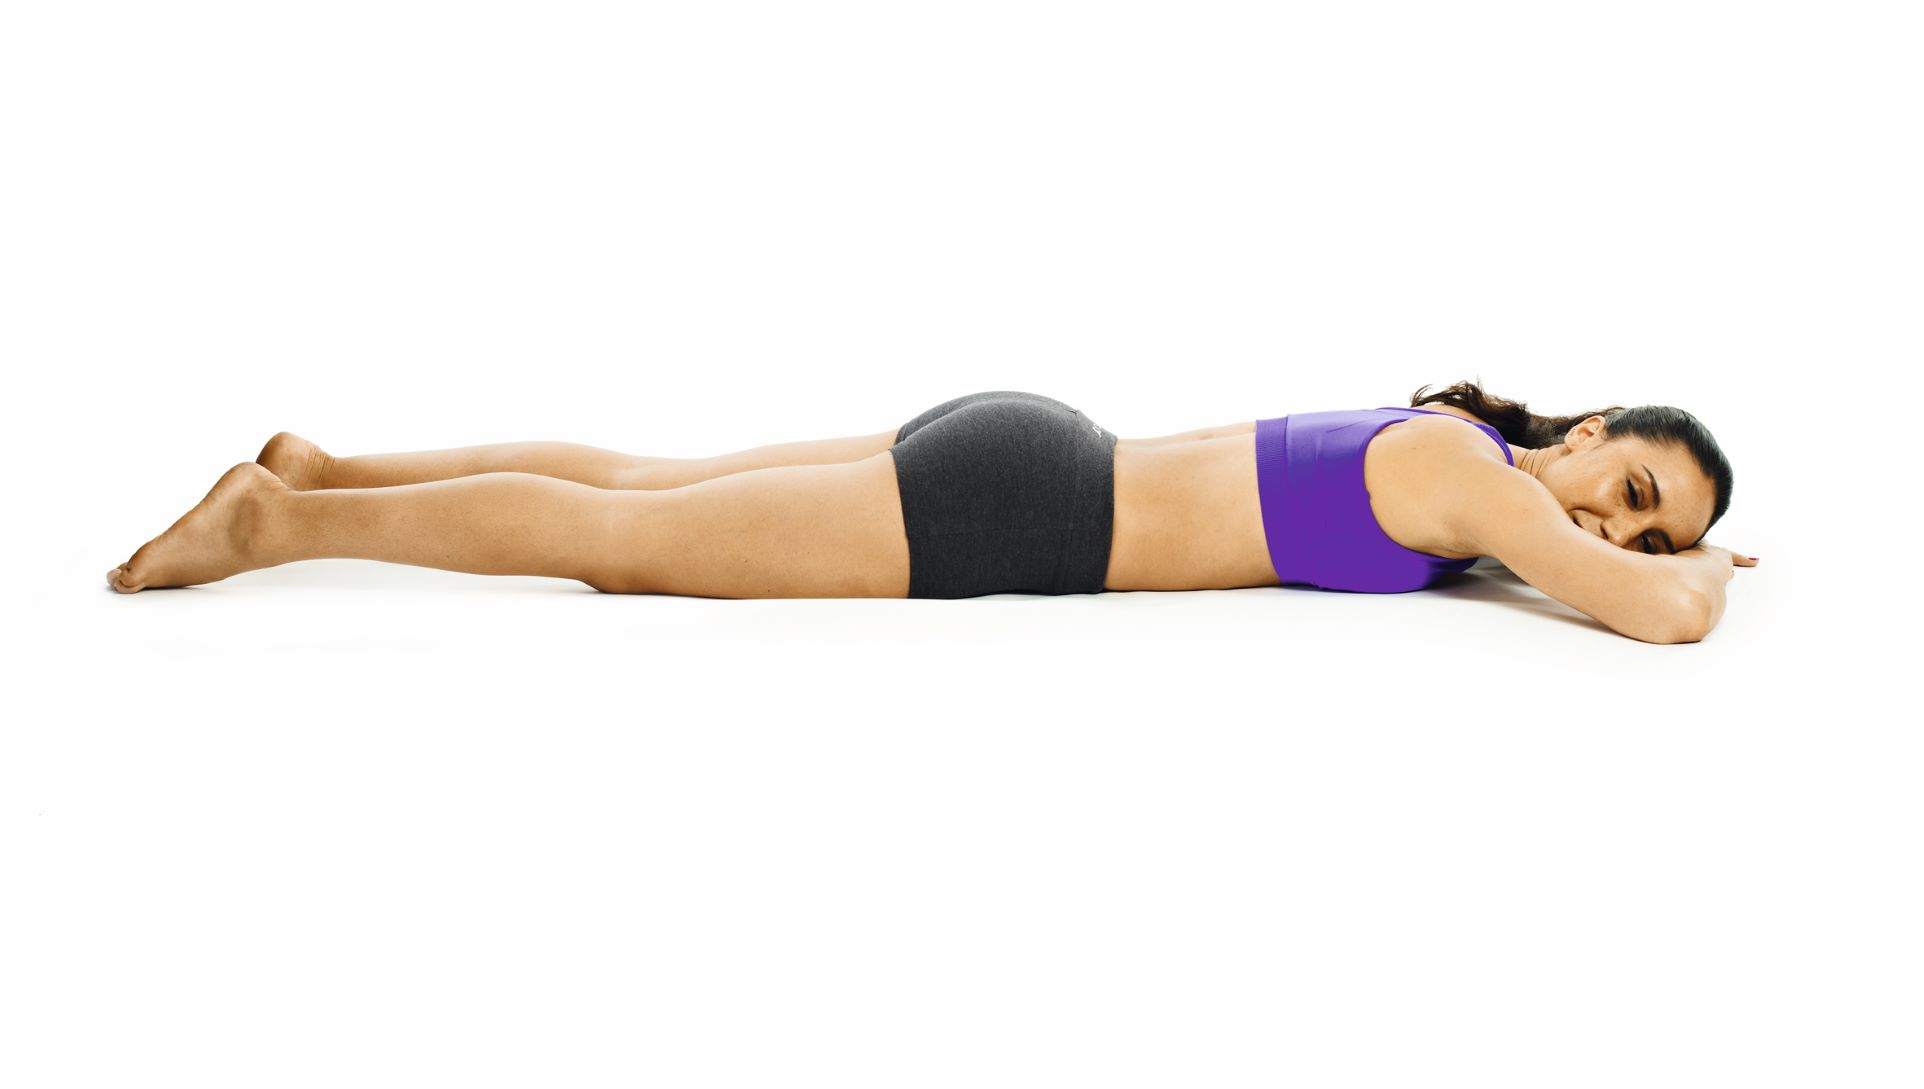
- Lie face down with your chin resting on the mat, feet facing down, arms above head, palms facing down. Take a few centering breaths.
- Inhale and lift one leg up, muscles engaged, then turn it inwards. Stretch it back then exhale to lower it. Do the same with the other leg.
- Keeping your leg muscles engaged, draw your tailbone towards your heels and press your pubic bone into the mat. Inhale and, keeping your neck long, lift both thighs, your head and chest away from the floor.
- Stretch your arms out in front of you and lift them whilst lifting your legs and feet. (A)
- Take five breaths and release on an exhale.
- Make a pillow by putting one hand over the other and rest your head to one side. (B)
- Repeat this pose three to five times.
Tip: Imagine the crown of your head and your feet being pulled forwards and then upwards in two directions so you’re stretching your entire body, before lifting your torso and legs.
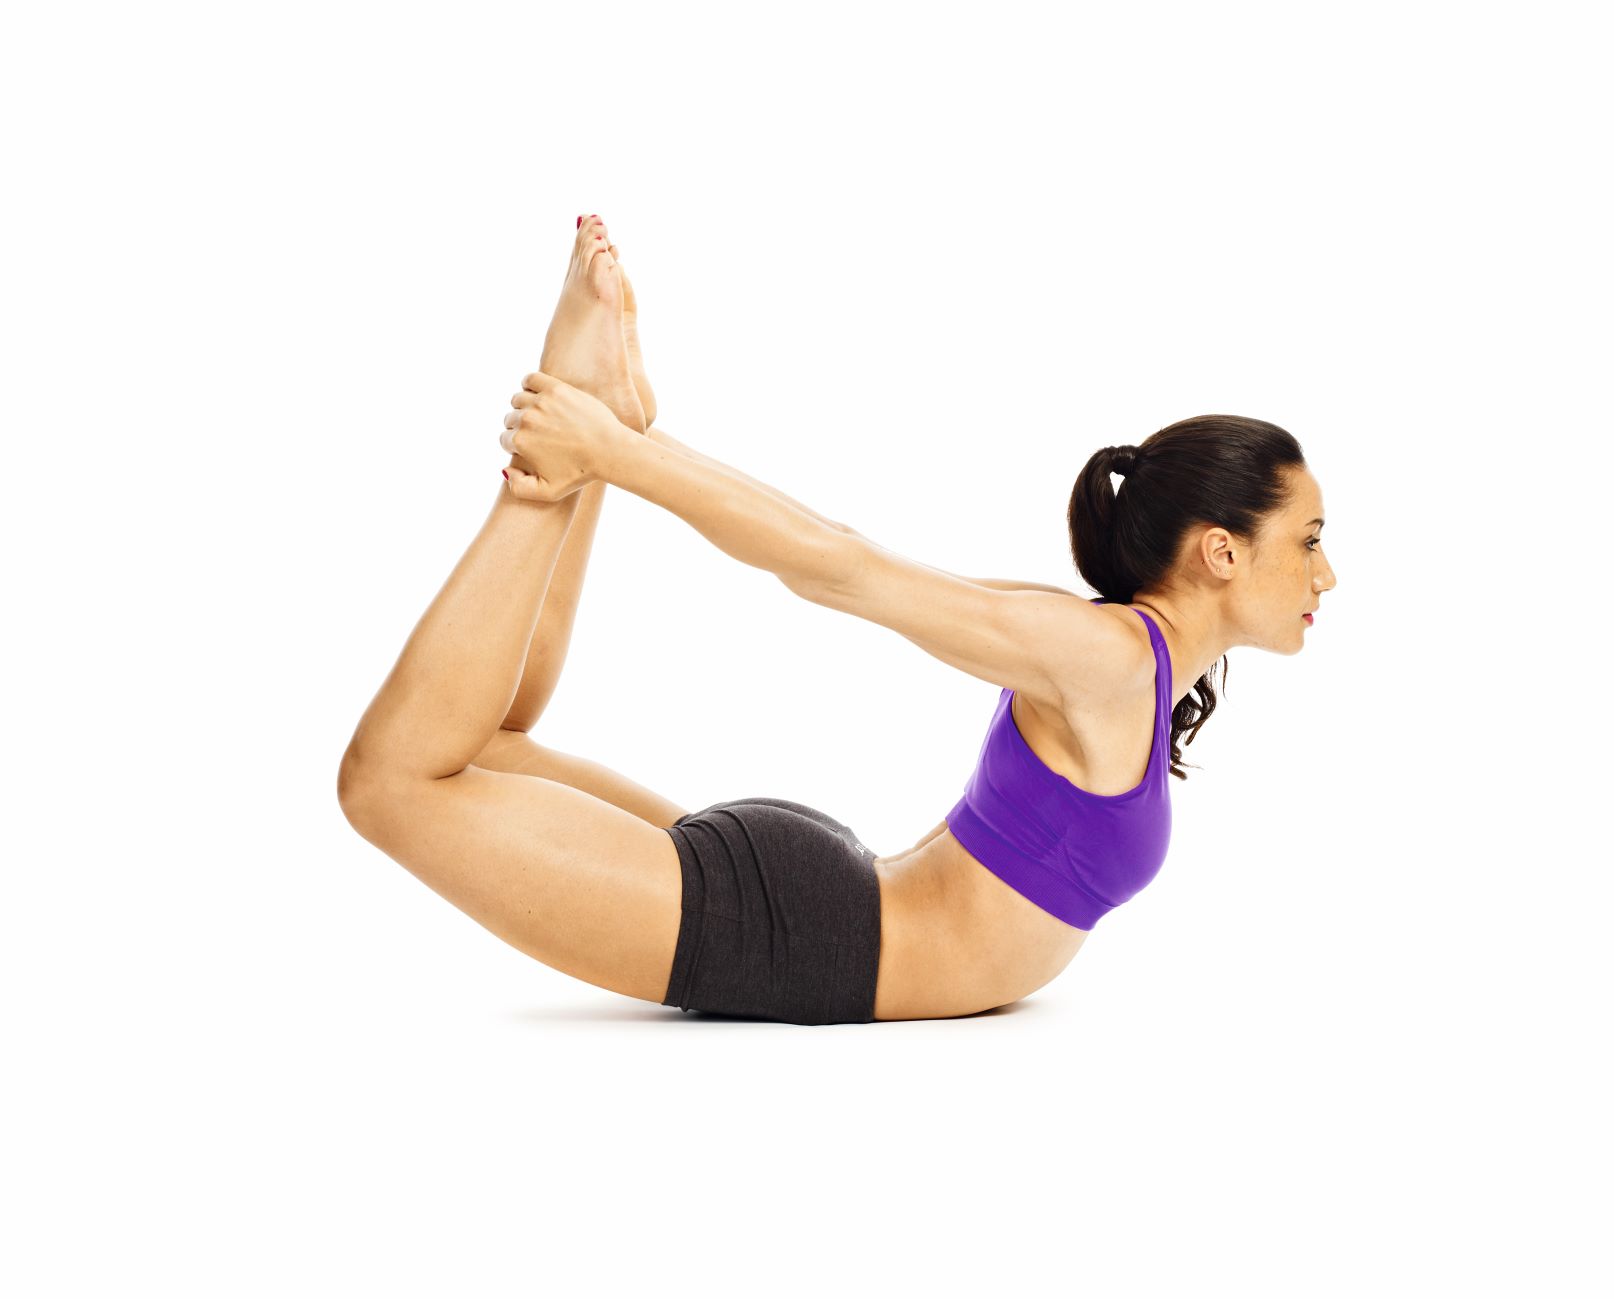
Bow (Dhanurasana)
Benefits: Increases heart rate, firms and lengthens your arms, core, hips, legs, back and buttocks. Stretches and opens your chest.
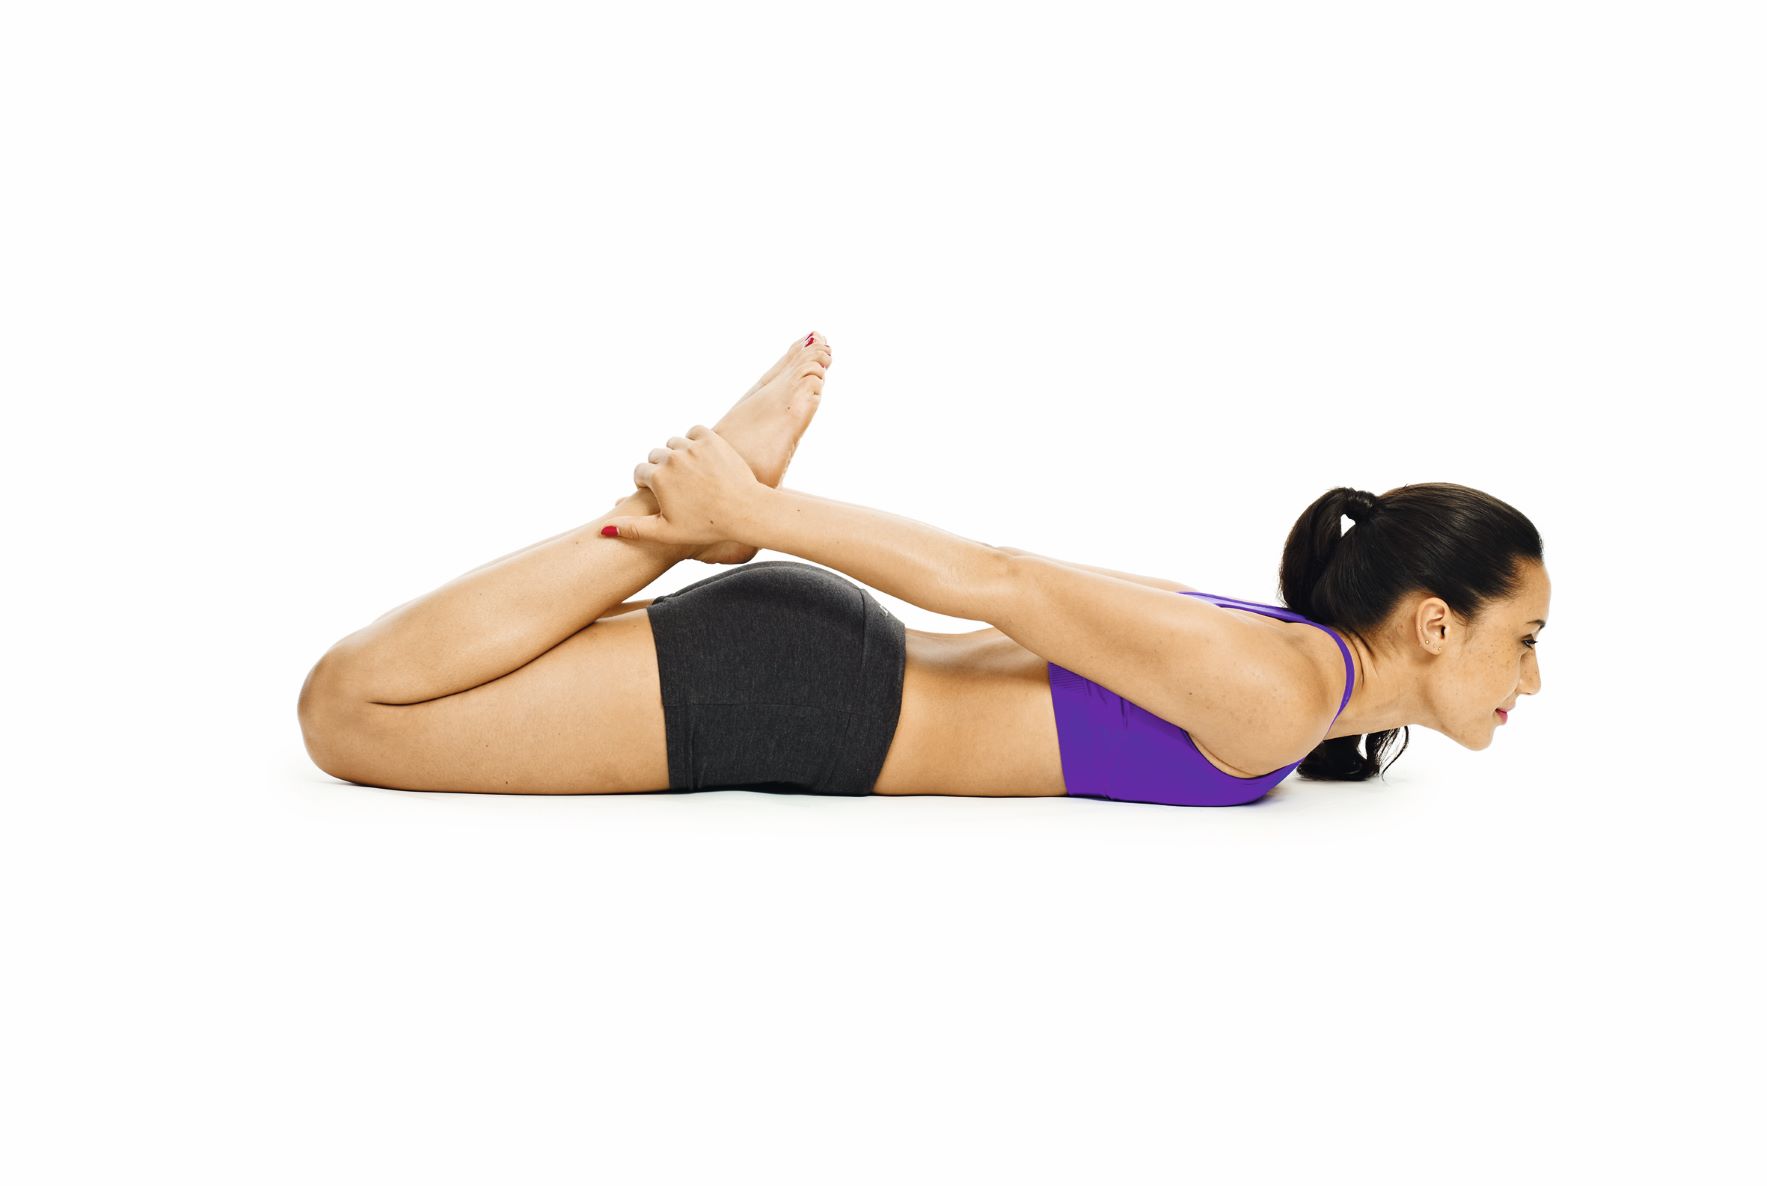
- Lie flat on your tummy with your forehead resting on the floor or on your hands. (A)
- Bend your knees so your shins are perpendicular to the floor.
- Inhale, extend your right arm back towards your feet. Exhale and release. Repeat with the other hand.
- Inhale and extend both arms towards your feet, taking hold of your ankles or shins. Exhale. (B)
- Inhale, press your pubic bone into the mat, press the fronts of your feet into your hands and lift your heels from your buttocks towards the ceiling, then your thighs off the floor. This should open your chest and lift your head and chest off the floor.
- Press your tailbone and pubic bone into the mat. Draw your shoulders down and open and lift your chest further, pointing your sternum upwards. (C)
- Keeping your breath steady, focus on bringing your knees, ankles and feet closer so you feel an opening in your entire body. Take five to 10 breaths.
- Repeat three to five times, resting for a few seconds in between.
Variation: If this hurts your pubic bone, put a thinly folded blanket under you before beginning.
Tip: With each inhale, lengthen the crown of your head upwards and extend your lower back. With each exhale, open your chest a little further and draw your thighs, knees and feet up and towards each other.
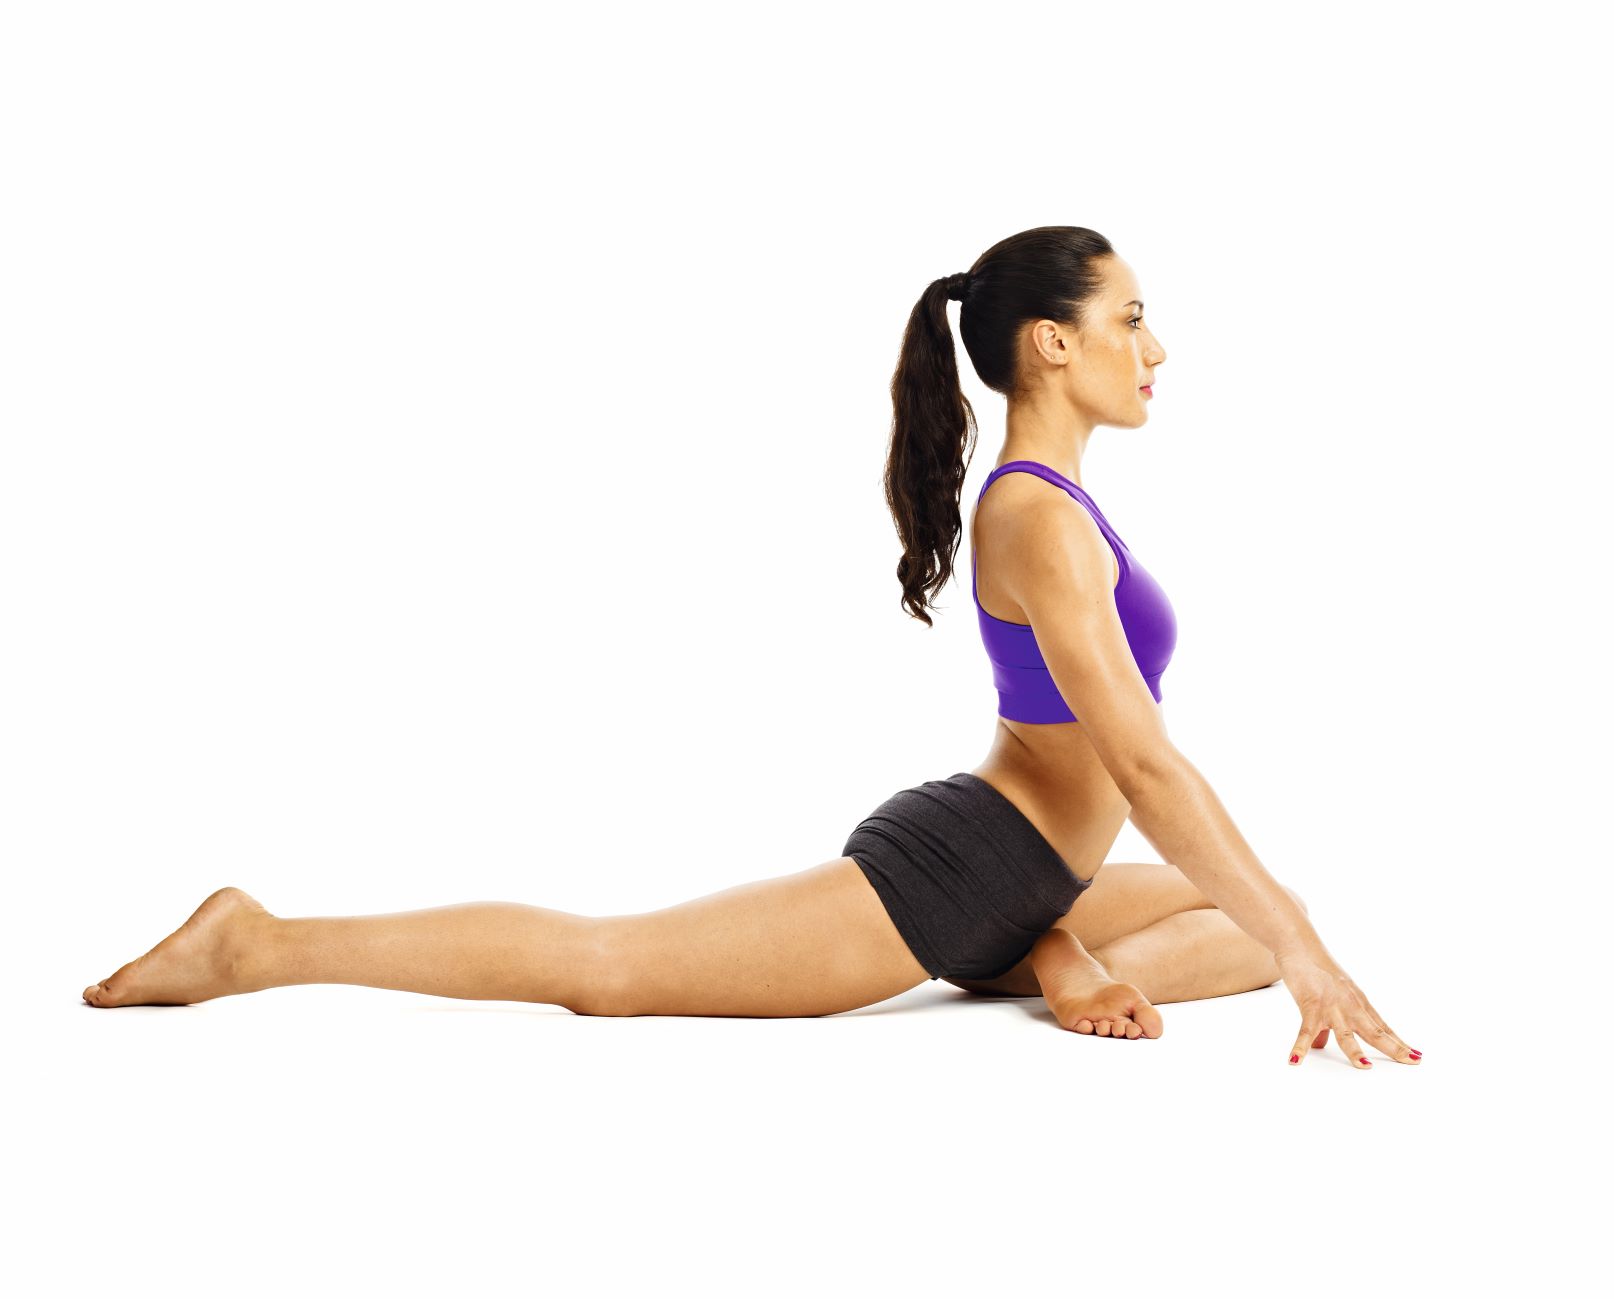
Pigeon Pose (Eka Pada Rajakapotasana)
Benefits: Opens your hips and chest, stretches your outer thighs and lengthens your spine.
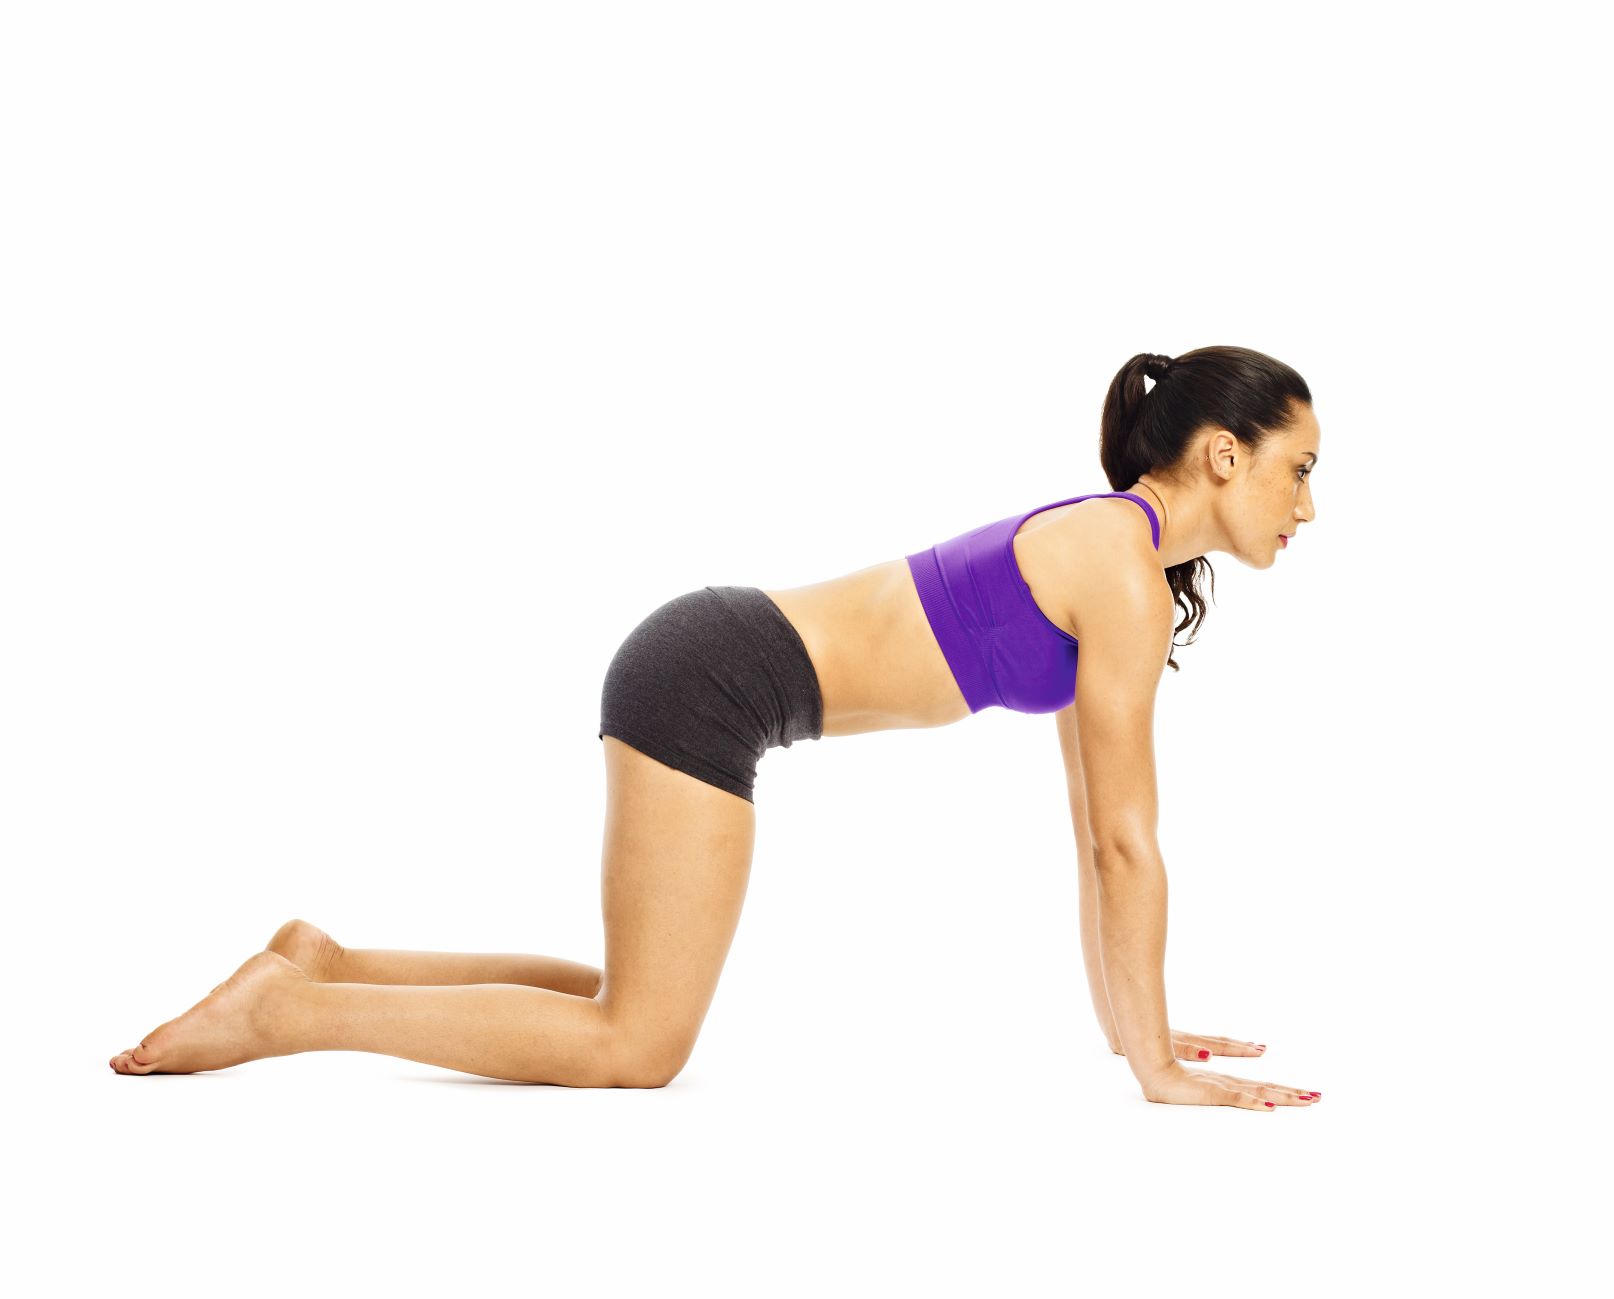
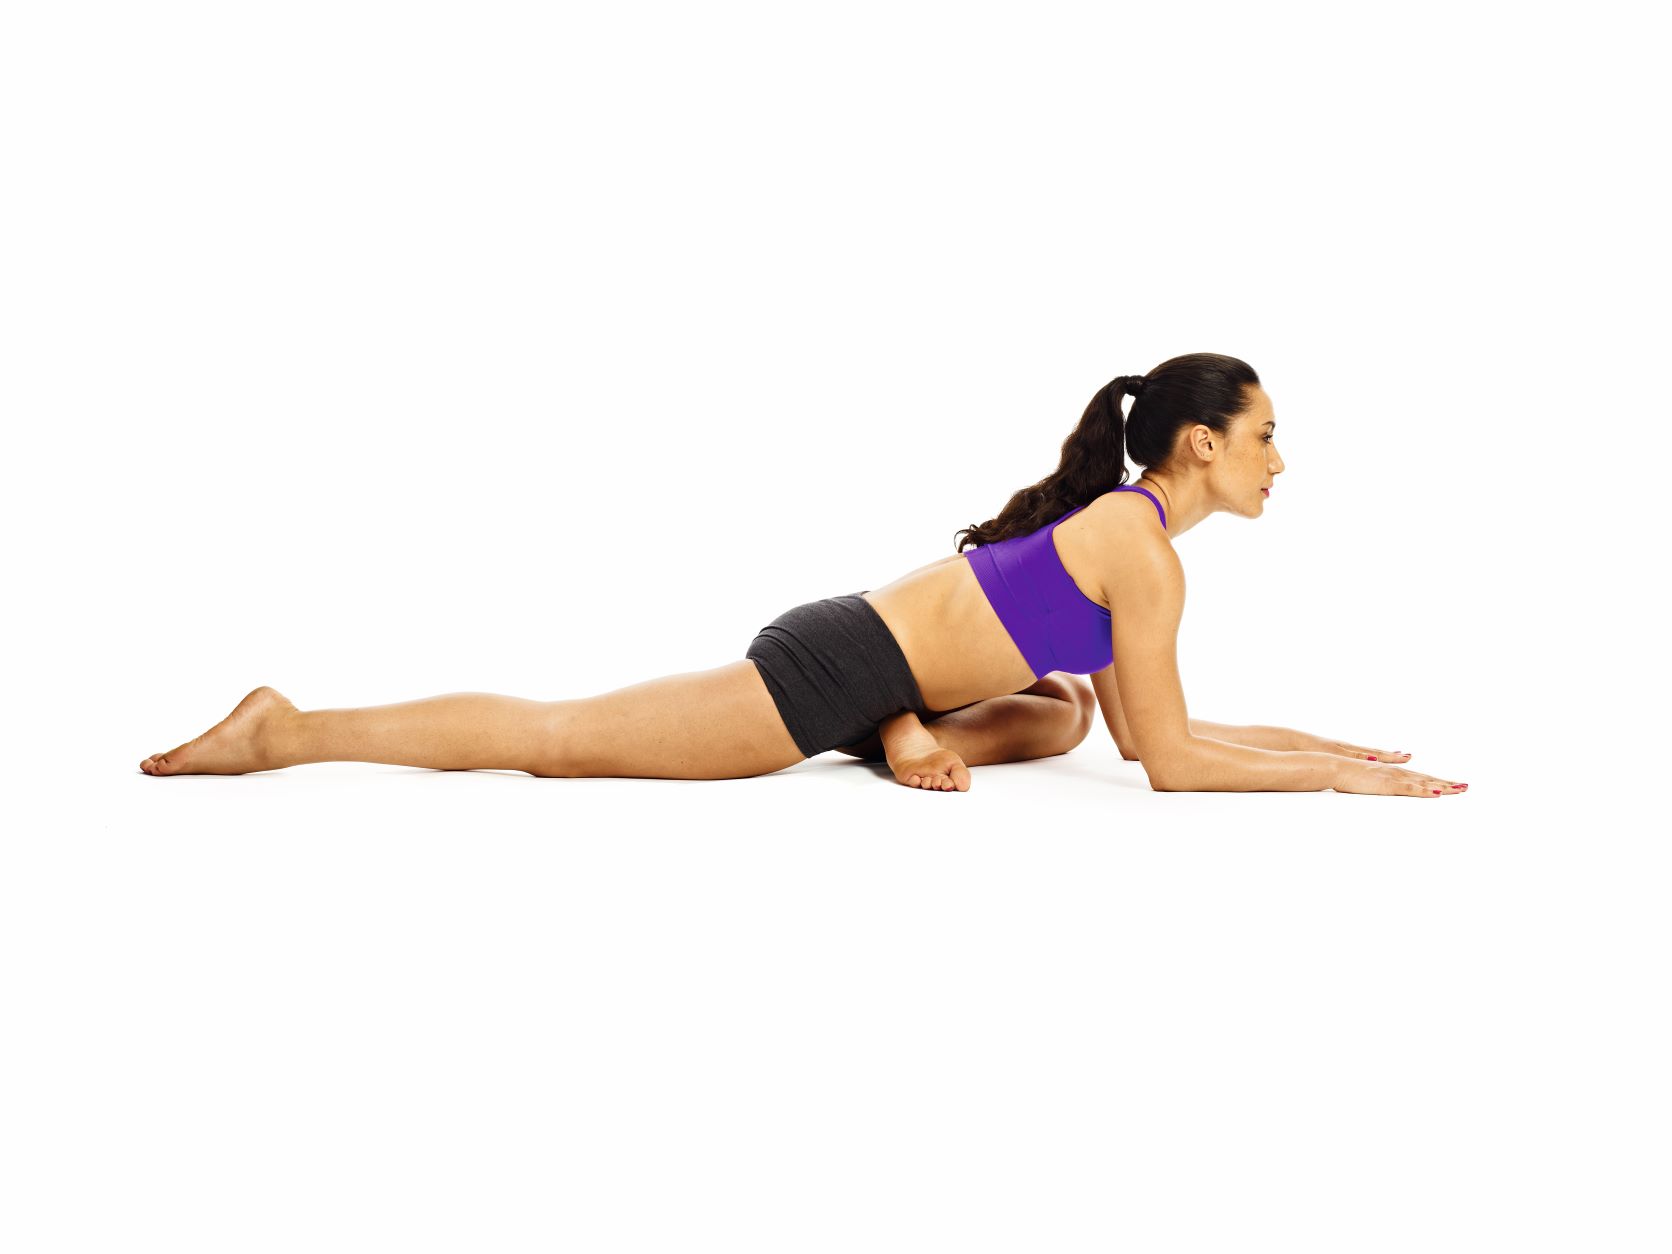
- Start on all fours with your knees beneath your hips and hands beneath your shoulders. (A)
- Lift your left knee, place it a few inches behind your left wrist.
- Gently slide back your right leg, straightening it out.
- Place your left heel in front of your right hip. As you get more experience, move the heel of your bent leg further away from the front hip to open both hips more.
- Inhale and lengthen your torso by extending your crown to the ceiling, pressing your fingers into the floor, straightening your arms and drawing your chin to your chest. Exhale. Ensure your weight is even on both hips. (B)
- Inhale, move your torso forward, root your palms and forearms to the floor and lift your chest, drawing back your shoulder blades. Look ahead and take five to 10 deep breaths. (C)
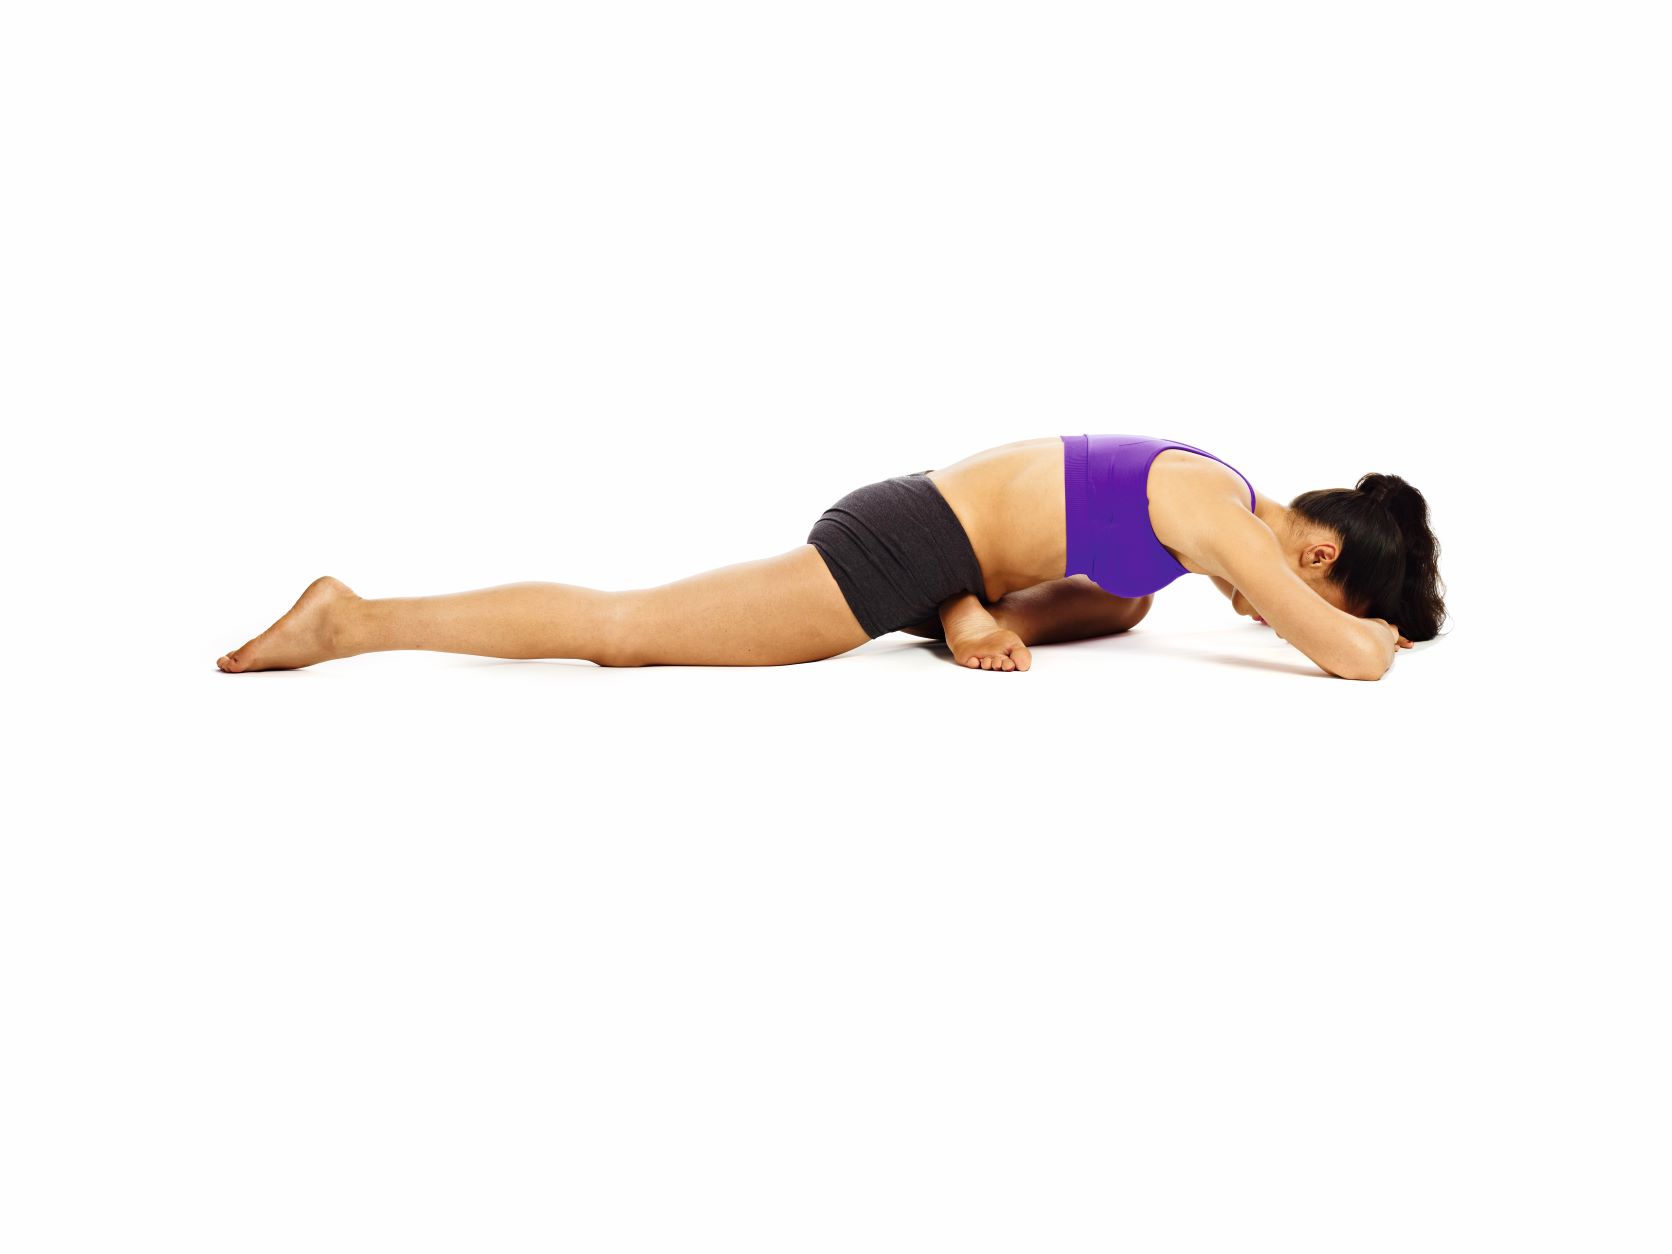
- Exhale, then lean your torso over your bent leg and relax down – use a bolster if you can’t reach the floor.
- Rest your forehead on your hands. Take 10 more breaths. (D)
- Release the pose by pressing your hands into the floor, lifting your hips and moving back to your hands and knees.
- Repeat on the other side.
Variation: If you have tight hips and your bent-leg hip is lifting off the floor, place a block or folded blanket under it for support.
Tip: Ensure the back leg is facing down, and that your weight is evenly distributed. Try not to lean towards your bent-leg side.
Happy Baby (Ananda Balasana)
Benefits: Stretches out your inner and outer thighs, arms and lower back. It’s deeply relaxing for the mind too.
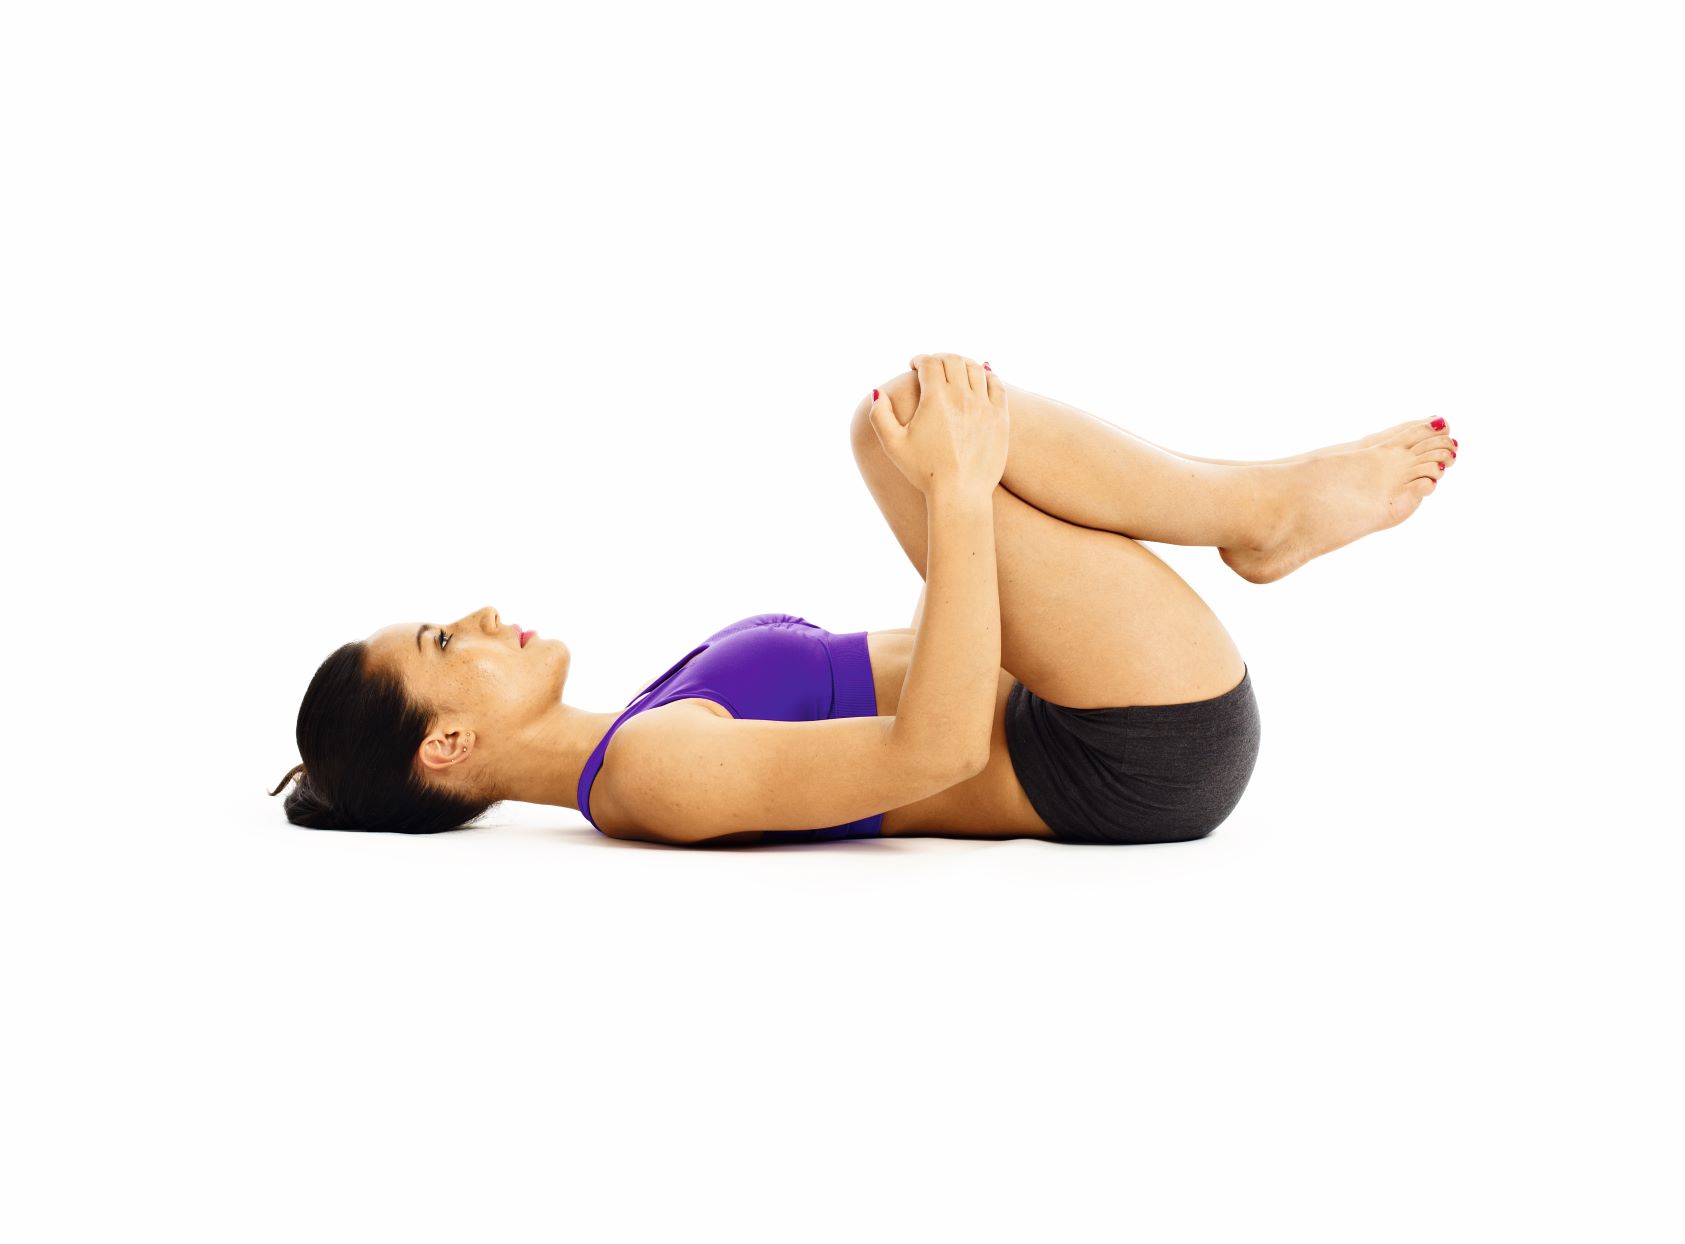
- Lay on your back. Bend both knees deeply, slightly wider than your body. (A)
- Now flex both feet and grab your outer feet with both hands.
- Bend your knees towards your armpits. Feel the stretch and deep release in your lower back.
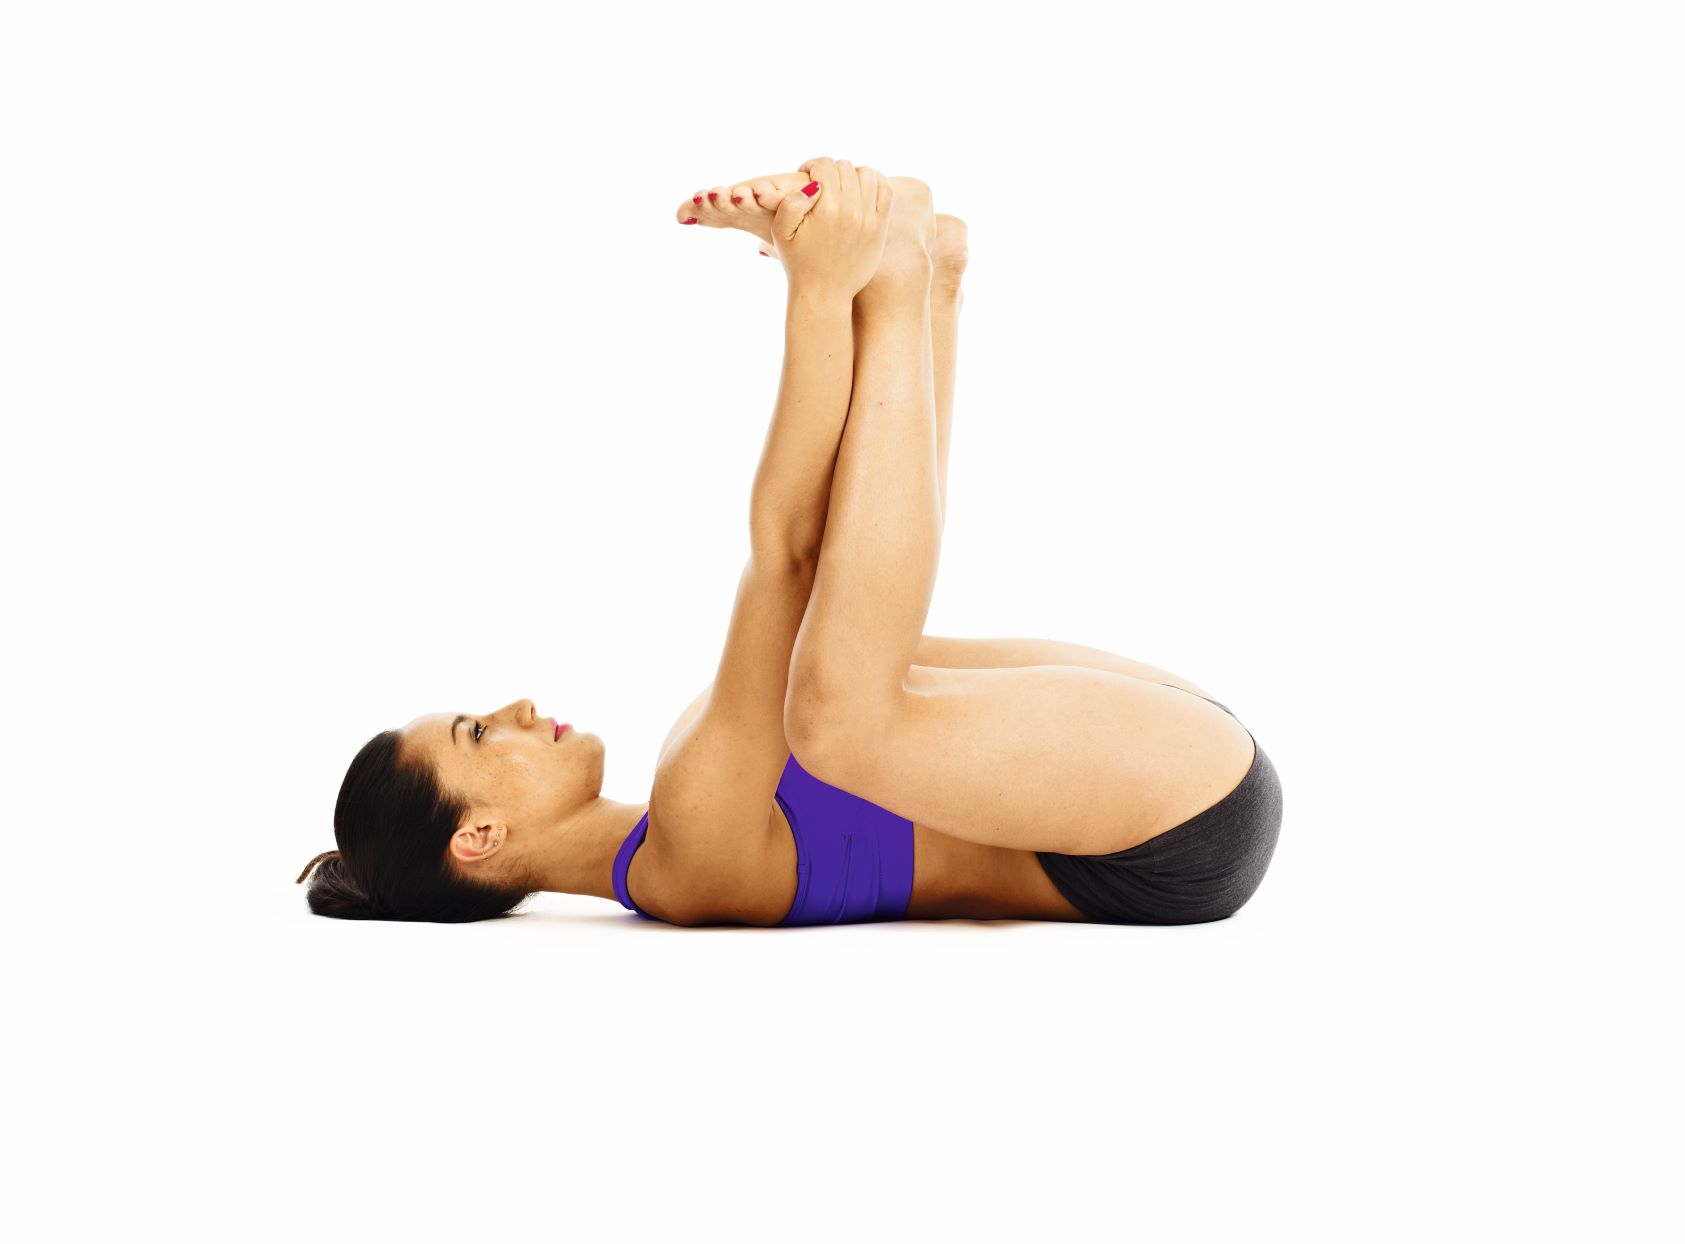
- Draw your chin slightly in to lengthen your neck, keep your shoulders down and relaxed and point your tailbone forwards to lengthen your spine. (B)
- Take 10–20 breaths, rocking from side to side if it feels comfortable, and release your feet to the floor.
Variation: If you can’t easily take your feet with your hands, take the backs of your shins. Or wrap a scarf or strap around the ball of each foot and hold on to wherever is comfy. Over time, you can move up the strap until you’re holding your foot.
Tip: This pose is about release and relaxation, so make sure no part of your body is straining. Relax and swing your body around to give
your hips and spine a good stretch.
Savasana pose (relaxation)
Lay comfortably on your back with any cushions or coverings you need. Hands by your side, palms up, then simply relax and focus on your breathing.
Related content:
- 10 minute yoga glute workout to tone your bum
- Can you lose weight doing yoga?
- Yoga for gut health: best poses for IBS & bloating
Head to Men’s Fitness UK to discover the best yoga poses for men.