Don’t let minor injuries make you miss out on yoga. Learn the best modifications to safely adapt your yoga practice for common injuries, including joint issues and back pain…
We all know how good a yoga session can feel – energising the body, clearing the mind or boosting strength… but what happens when injuries make you hesitate to get on your mat? Yoga is a journey, a process, and it’s inevitable that some days you won’t have the energy or ability to do your usual postures.
But yoga is about self-acceptance, and that includes acknowledging and respecting how your body is on the day. In fact, if you accept where you are in the moment, simply getting on your mat and being present with your daily reality will bring you into better balance.
Try the Sundried Eco Jute Yoga Mat
BUY IT NOW:
£16.07 / amazon.co.uk (not available in the US)
A damaged joint may cause over-compensation and increase tension in other muscles, for example, or levels of pain and discomfort may mean you’re not breathing fully, in turn affecting muscle oxygenation, increasing blood pressure and heart rate, and leaving you feeling fatigued.
Rather than give up on yoga until you’re fully recovered, you can still enjoy its benefits, all you need is your GP’s OK to practise and a few simple modifications. Ready to give it a try? Here’s how to adapt your yoga postures for a range of common injuries.
Related content:
- What is yoga alignment? Why it’s important & getting started
- Yoga self practice: how to design sequences at home
- What to wear to yoga class: best leggings, tops and bras
Yoga and joint issues
If you have an injury, there are a few general principles to bear in mind. First, move into poses slowly and gently (no jumping between postures), using this as an opportunity to test out how your injured joint responds. Remain in postures for longer periods, breathing slowly and deeply, and avoid any movements that increase your symptoms. If a pose causes tingling, numbness or pain, come out of the pose carefully and move onto something less challenging. Most of all, listen to your body’s feedback and adjust your practice according to your needs.
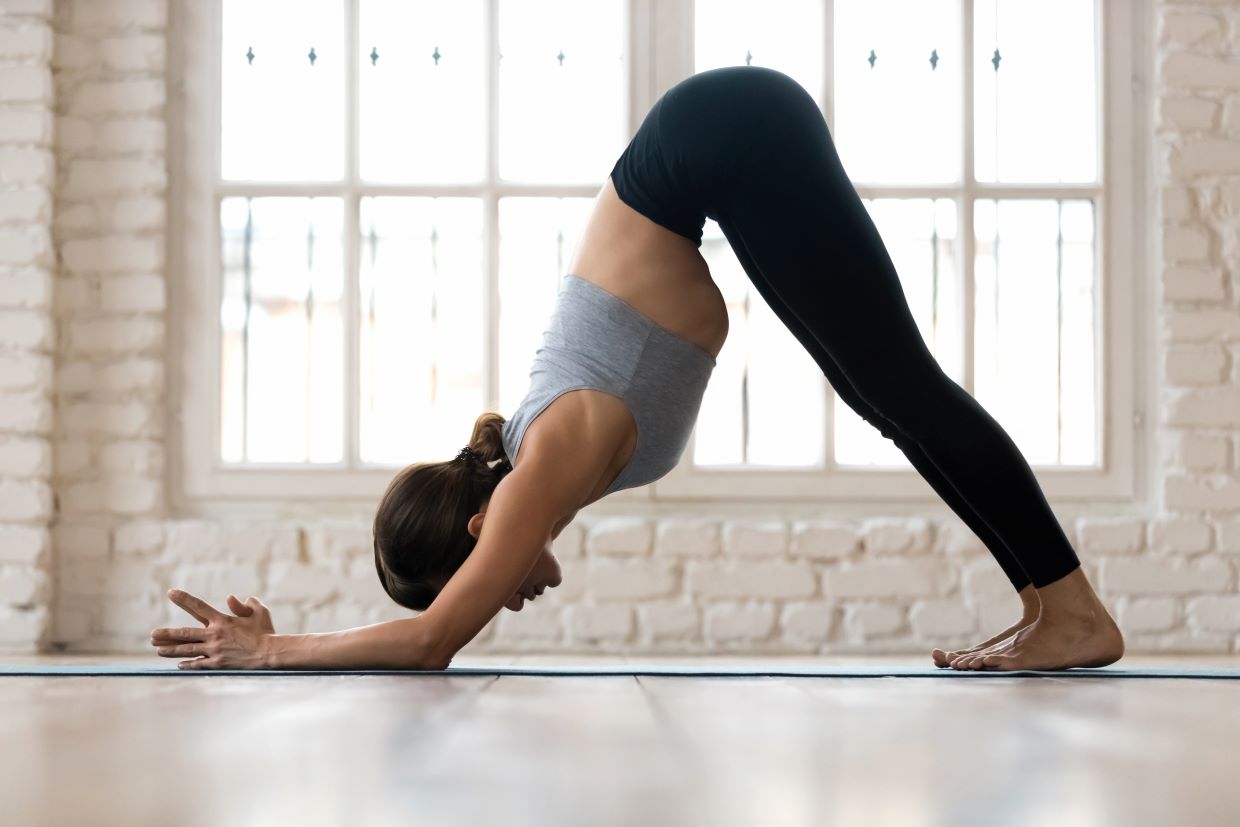
If you are dealing with a wrist injury, avoid asanas (poses) where your weight is on your palms. You could instead try an asana where the weight is on the forearms, like dolphin (pictured).
Navigating wrist, hand and shoulder injuries in yoga:
If you’ve sprained a wrist, spread your fingers wide in poses such as down dog or cat/cow to distribute the weight more evenly. Take the pressure off your wrists by reducing the angle between your forearm and wrist – either by folding your mat double or using a support. In poses where your forearm is vertical, such as plank, you may find it easier to make fists, and balance on your knuckles. You could also rest on your forearms instead of palms (e.g. dolphin, forearm plank, forearm balance).
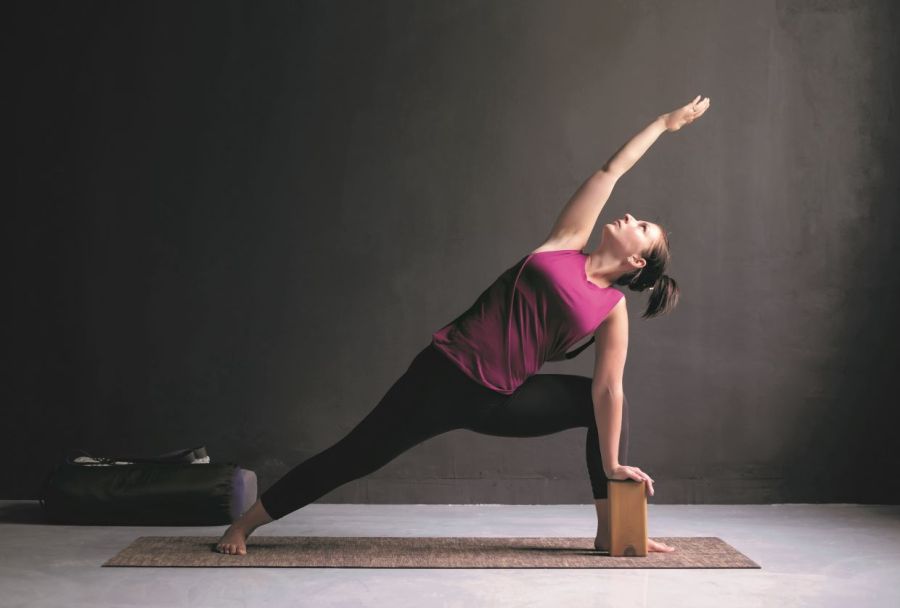
When you’ve injured a shoulder, you may struggle to extend your arms so consider these alternatives: triangle (rest top arm on top hip), mountain (take into a ‘V’ shape rather than directly overhead), warrior I and II (hands on hips) and downward dog (rest hands on blocks a chair or place against skirting board).
Navigating ankle and knee injuries in yoga:
In the initial phase of an ankle injury, such as a sprain, begin with supine postures, where you lie on your back and increase range of motion in the ankle with rotations. Then, move on to ‘standing poses’ also carried out lying on your back. You might be surprised how effective this can be, especially if you fully engage the same muscles as you would with the full pose. Try it out with mountain pose (remembering to keep the ankles flexed to 90 degrees), tree, hand-to-foot pose (raised leg in front and out to the side). As you recover, return to standing, perhaps resting your injured foot on a pillow to help strengthen the stabilising muscles to get them back to normal.
When you have a knee injury, find the level of flexion that works best for you. You may find a milder bend more comfortable, say, not going to 90 degrees in warrior II, but that’s not always the case – those with runner’s knee, for example, often find a deeper bend is less problematic, as then the kneecap has greater contact with the head of the thigh bone, in turn reducing load on the joint.
In general, avoid poses where the knee is twisted (sage’s twist, lotus), and place a thin cushion or folded blanket on your mat for extra cushioning. Also, consider using support for balance poses such as tree, half-moon and warrior III – rest a hand, or hands, on a wall or chair back.
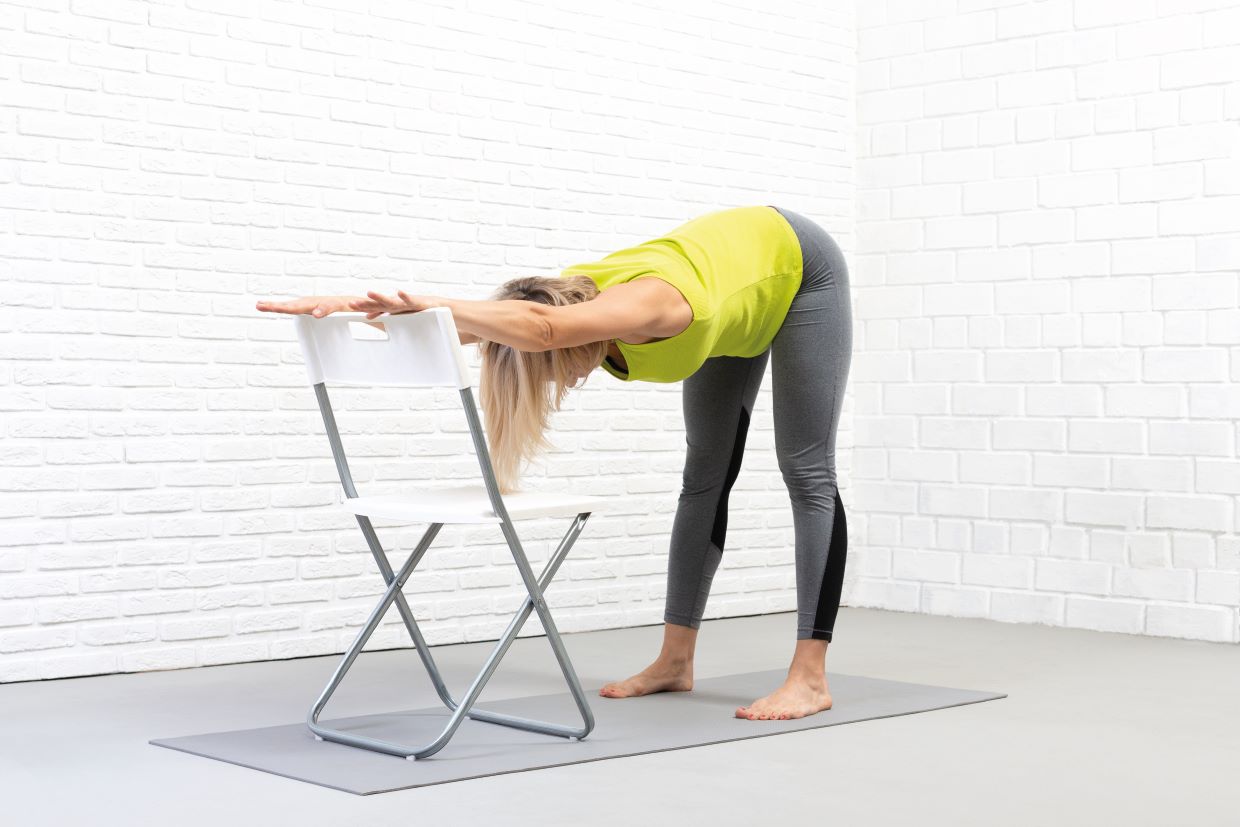
Use a chair to lengthen hamstrings and spine without placing pressure on joints – an ideal modification for downward-facing dog
Yoga modifications for back problems
Always take care with back issues, and let your teacher know so they can offer modifications in class but, in general, the following should help. Relieve strain on the lower back by lengthening the psoas (a hip flexor) with poses such as low lunge, and stretching the hamstrings (to free up the pelvis) with half splits.
Backbends can compress your lower back, so avoid placing strain on your lumbar region by resting your palms on upright blocks for camel pose and practising a ‘baby’ cobra instead of the full pose. Forward bends can also strain the lower back, so bring more ease to poses such as standing and seated forward folds by keeping the knees slightly bent, not lowering fully into the pose or using blocks or a strap to ‘lengthen’ the arms. Other ways to protect a vulnerable back include engaging the core before any twisting postures, and placing a bolster beneath the knees in savasana.
Words: Eve Boggenpoel | Images: Shutterstock