Better muscular balance, a stronger core and greater injury resistance are just some of the benefits of single-sided ‘unilateral’ exercise – so why isn’t it top of your workout agenda? But what exactly is unilateral exercise – and how can you add it to your workout regime? Here’s how to get to grips with this overlooked form of training, plus the best unilateral exercises to choose for the greatest effect…
Exercising one side of the body at a time may seem like a great way to drag out the length of your workout, but single-sided moves – also known as unilateral exercises – have a lot to offer.
Studies show that these moves can help increase muscular balance, improve core engagement and even assist in injury rehabilitation. Sure, they may feel like a step back to basics but sometimes we all need to focus on the areas that will help us to build stronger fitness foundations.
So, rather than working on ‘How much can I squat?’, you could pay attention to ‘How can I optimise my performance whilst lowering my risks of injury’. Training with unilateral movements can accomplish this and so much more.
Related: Strength training for beginners: 6 tips to get started
What is unilateral exercise?
A unilateral movement is one that uses a single limb (think, Bulgarian split squat or one-armed shoulder press). Everyone has a more dominant side so, by focusing on one side at a time, unilateral moves help balance out the body in a way that bilateral exercise (two-limbed moves) can’t.
Muscular imbalance is extremely common and starts early in life. From a young age, we rely on one side for daily lifting, carrying, throwing, jumping and more, and this can contribute to greater imbalances over time. Another common cause of muscular imbalance is injury to a joint or muscle on one side.
For instance, if we were to break our right leg then our left leg would take over the muscular responsibility for most activities. When the injured leg recovers, it is, therefore, important to spend time rebuilding balance and strength with an appropriate exercise programme. Unilateral training can be a great workout tool after injury, as it can help to build a more equal balance of strength on both sides of the body.
Related: How to prevent sports injuries: foam rolling, stretching & more
Benefits of unilateral exercise
If you’ve ever felt more post-exercise soreness on one side than the other, chances are your stronger side was working harder during exercise. Unilateral training can specifically target the weaker side. It’s also possible to have a strength imbalance between two muscles on one side (such as overactive traps and under-active lats).
By performing a single-sided or unilateral exercise, you’ll be better able to concentrate on performing the exercise correctly. You’ll also be more likely to recruit the right muscles because you only have to focus on what one side of your body is doing. Not only does this benefit the weaker side, but it also prevents overuse, overtraining and over-compensation of the more dominant muscles.
How to do unilateral exercise
Not doing any unilateral exercises yet? Many people discover the importance of unilateral training way into their exercise journey. Don’t wait! Your ability to perform the major compound (multi-muscle) lifts, such as squats, deadlifts and bench presses, will improve by adding unilateral work to your sessions. However, before you get started with our recommended unilateral exercises, let’s run through some common pitfalls to ensure you get them right.
1. Go weak side first
If you like to kick-off a weights set with your strong side, you’re not alone. But by hitting your target reps with your stronger side and then failing to match it with your opposing weaker side, you will be getting fewer balance-boosting benefits. Start your unilateral training on the weaker leg or arm, and then aim to match the reps/weight/time result with your stronger side.
2. Choose weights wisely
Don’t go too heavy with the weights. Not only will this likely lead to poor exercise technique, but it will also prevent correct core stabilisation from taking place. Choose a weight that allows you to perform the exercise with perfect form.
3. Hit the machines
Dumbbells and kettlebells may be the obvious choice for unilateral exercises, but you don’t need to stick to free weights for this form of activity. Machines such as the leg press can provide extra control for single-limb movements whilst also still testing your core strength. Use a combination of free weights and machines.
4. Use your brain
Not keeping the weight controlled throughout the movement? This is a common issue with unilateral training, even if the volume of the weight is manageable. Unilateral work challenges your cognitive function, so don’t panic. Instead, focus on the targeted muscle and maintaining control for the duration of the lift.
Best unilateral exercises to try
Now you know what unilateral training is, are you ready to give some one-sided exercises a go? Try incorporating some of our favourite unilateral moves into your next workout session.
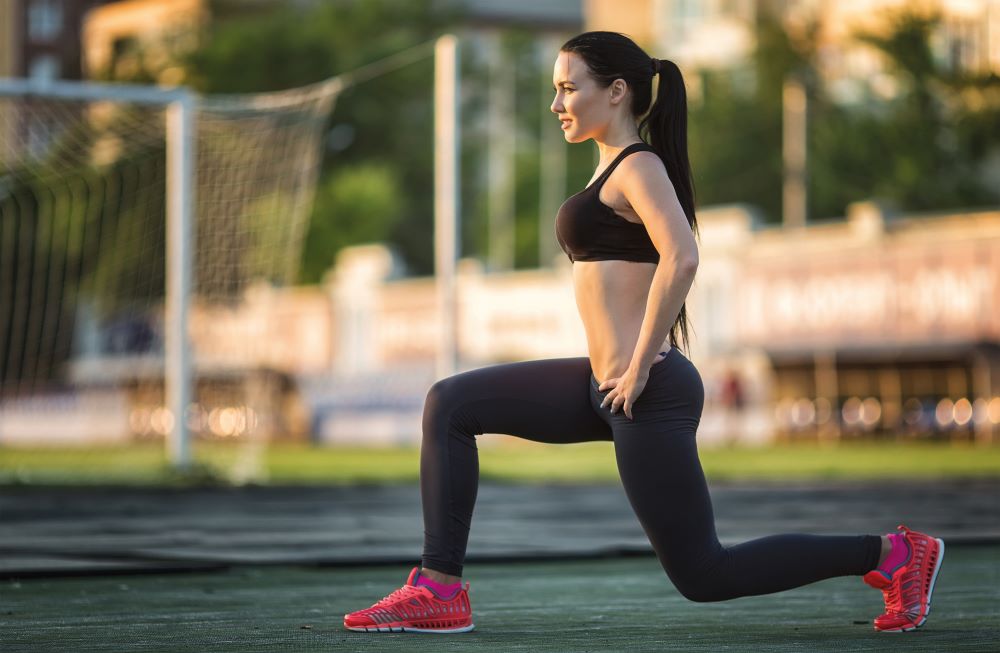
1. Split squat
- Stand up tall with your hands by your sides or on your hips, and feet close together.
- Take a large step forward with one leg and stand on the ball of your back foot. Bend at the knees to lower your body until your back knee is almost touching the floor and both legs are close to a 90-degree angle.
- Extend the knee and hip of the front leg to return to standing. Repeat for the desired number of repetitions, then switch legs.
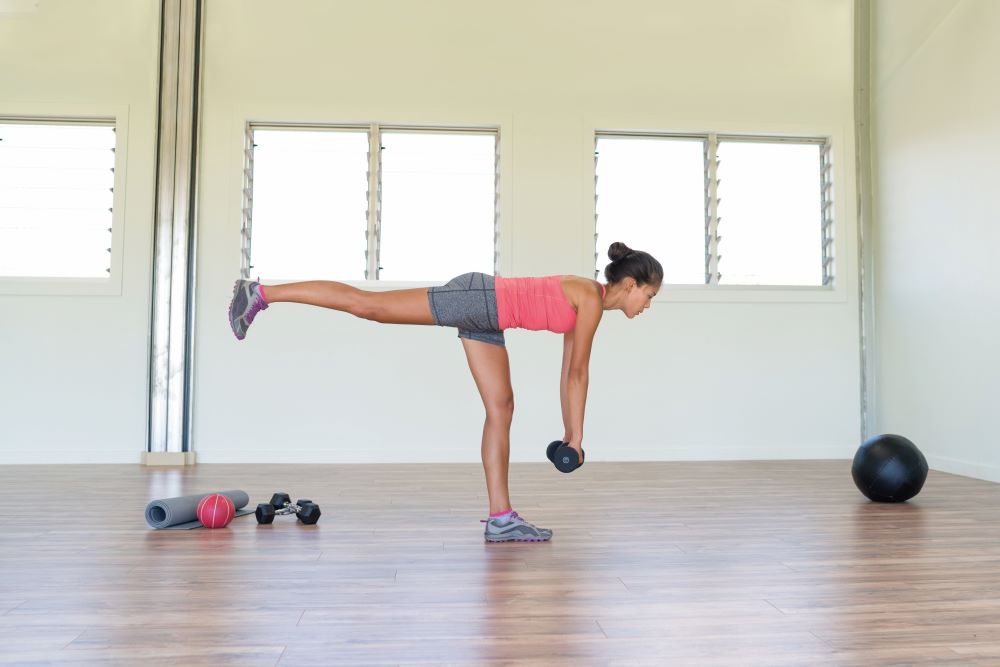
2. Single-leg deadlift
- Balance your foot, making sure the knee is soft. With your right leg lifted behind you (create a straight line from ankle to ear) and your abs tight and back straight, hinge forward from your hips, while lowering your hands towards your left foot.
- Imagine trying to push an object away with your back foot and drive the standing foot into the ground. The shoulders and hips should remain perfectly level and symmetrical.
- Pause, squeeze your bottom and return to standing. Do all the reps on your left leg, then switch sides.
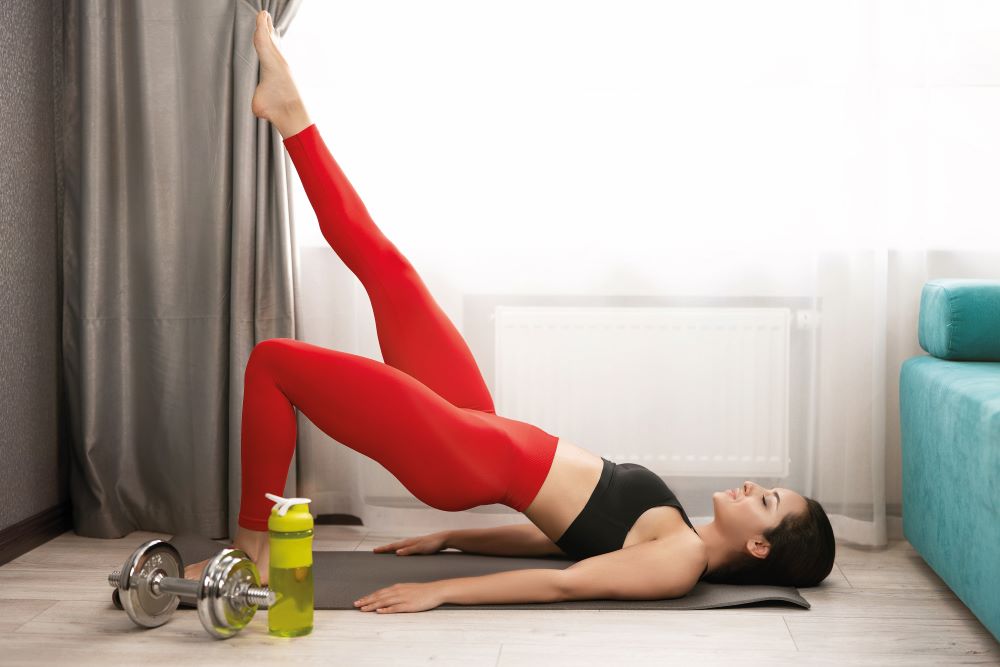
3. Single-leg hip thrust
- Lie on your back with arms by your sides, knees bent and feet flat on the floor.
- Squeeze your bottom as you lift your hips off the floor and extend one leg so that your toes point upwards. Keep your chin tucked in.
- Push through the heel of the supporting foot and push your hips up to the ceiling by squeezing your glutes.
- Lower your hips towards the ground. Repeat, then switch sides.
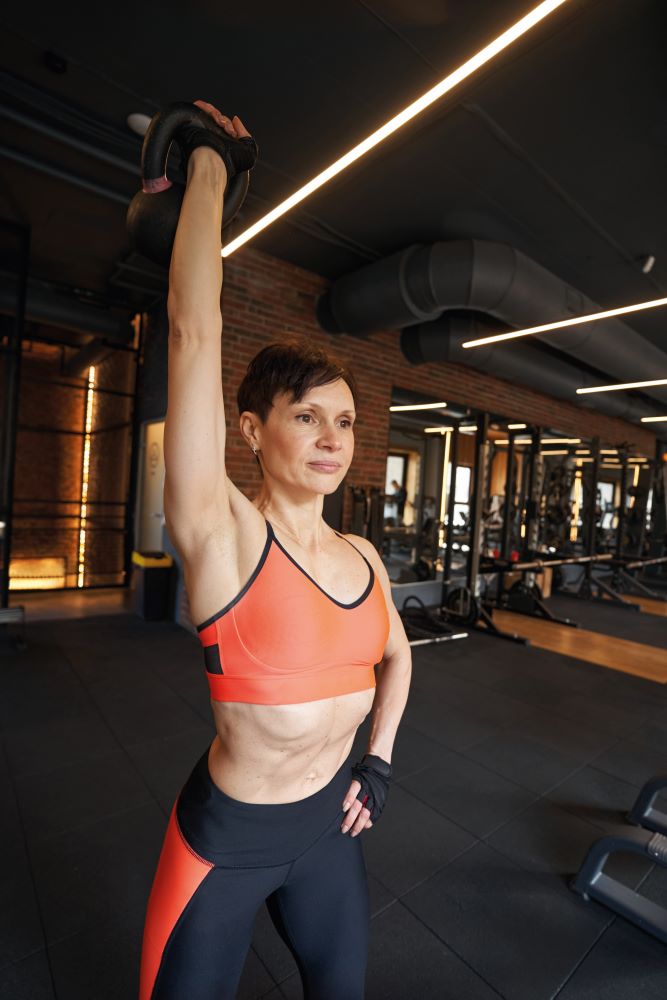
4. Single-arm overhead press
- Standing tall, engage your abs, and squeeze your thighs and glutes to keep the rest of your body stable. Position a kettlebell to the side of your shoulder, elbow and wrist.
- Press the weight overhead from your shoulder until your arm is straight.
- Slowly lower the weight back to the starting point and repeat, then switch sides.
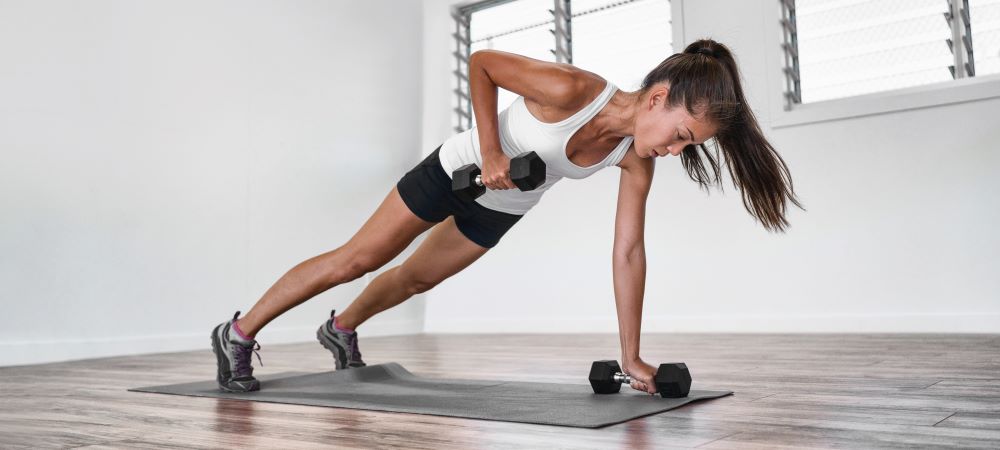
5. Renegade row
- Start in a high plank position with wrists under shoulders and the body in a straight line. Place a dumbbell under each hand – err on the side of caution with the weight selection the first time you try the renegade row.
- Gripping the dumbbell, pull the right hand up towards the chest, palm facing in towards the body. Push through the left hand as you perform this action.
- Row the weight upward until your upper arm is slightly higher than your torso, then slowly lower it back down to the ground.
- Aim for three sets of eight to 10 reps on each arm, you can either do one side all at once, or alternate. Once you can complete 10 on each side comfortably, increase either the reps or the weight.
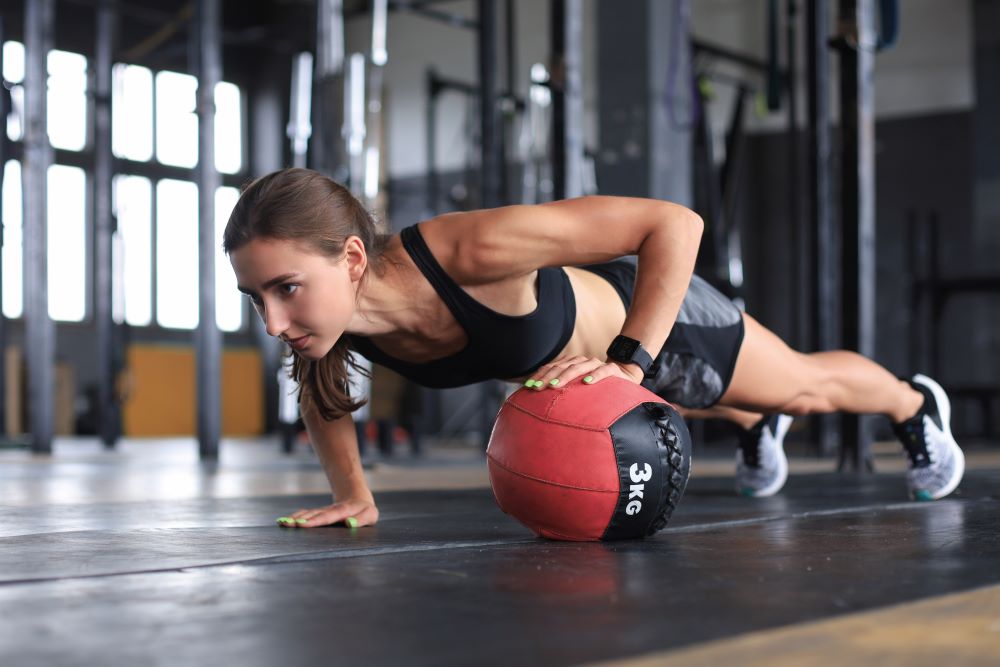
6. Med ball push-up
- Lie on the floor with your hands under your shoulders and one hand on a medicine ball. Push up with your arms and legs, so your body forms a straight line with your weight supported by your hands and toes.
- Keeping your hips down, your back straight and your abs tight, lower your upper body towards the floor, keeping your body in a straight line.
- Use your arms to press back up, repeat and then switch sides.
Related: Strength training for runners: 4-week weightlifting plan
Words: Sarah Sellens & Josh Ivory | Images: Shutterstock

