Discover how to use breathwork to build strength, increase your range of motion and prevent injury with this handy guide on positional breathing exercises…
Over the past few years there’s been an explosion of interest in breathwork. Whether it’s lengthening the breath for relaxation or box breathing for focus, breath experts have a wealth of techniques to help us meet our goals. But one exciting area that’s emerging in the field of breathwork is the precise way our body influences our breathing patterns, and the effect this has on fitness and performance.
‘Our internal organisation dictates how we bear weight through our joints and the way muscles react,’ explains Monica Franke, osteopath and movement expert. ‘We tend to be fairly compressed in certain places, and that affects our range of movement.’
How our breathing interacts with our internal structure
How we breathe and move is hugely influenced by our internal structure. You’re probably familiar with the diaphragm, the dome-shaped muscle that separates the chest cavity from the abdominal cavity. The primary breathing muscle in the body, it’s shaped like an umbrella, and when it contracts it moves downwards, creating space in the lungs for the incoming air. When it relaxes back upwards it forces stale air out of the body.
However, it’s not that simple, as Franke explains. ‘Our breathing and movement patterns organise around the placement and size of our internal organs. We have the liver on the right, as well as the three lobes of the right lung (there are only two on the left), and the diaphragm attaches as much as two levels lower on the right than the left. This means we are very anchored and stable on the right and more “flared”, expanding sideways on the left.’
Of course, our individual characteristics, movement and injury history will have an influence but, generally speaking, we tend to be more compressed on the left at the back of the ribcage and on the right at the front, explains Franke.
The result? ‘When we move, most people veer towards internal rotation (IR) on the right and external rotation (ER) on the left. For example, the right leg rotates inwards, and the left leg rotates outwards.’
Internal verses external rotation
What this means is that every step we take has an internal and external rotation component to it, which travels from the foot all the way up the body ‘As our heel strikes the ground, we are moving from an externally rotated position in the pelvis and leg to an internally rotated position,’ explains Franke.
‘This is important because we want to arrive at the “stance phase” – when the foot is fully in contact with the ground – with an ability to be pliable and receive load. If we remain rigidly biased towards external rotation, we reduce our capacity to adapt to the terrain. This is when tissue micro-traumas happen and build overtime to create injuries.’
But this isn’t a fixed situation. The goal isn’t good posture but being able to get in and out of internal and external rotation throughout the body. ‘By changing the breathing techniques in a given position, we’re giving each side of the body the thing it doesn’t have,’ says Franke. ‘If you can’t breathe well in a position, you can’t own it, and that’s when injuries can occur – so you’ll be more likely to get issues like piriformis syndrome or sciatica.’
Fitness benefits of positional breathing exercises
Known as positional breathing, Franke offers clients accessible moves for all levels of ability – indeed, her clients range from age 10 to 80, and all of them do a couple of moves every week. And while they can help with everyday activities, the fitness benefits are especially impressive.
‘Working on your spectrum of movement through positional breathing can make areal difference to your performance and strength,’ says Franke. ‘I’m not particularly strong, but I like lifting, and about three months ago, I deadlifted 27.5kg relatively easily. Since then, I’ve been focusing on positional breathing and, without doing any deadlifting in between, when I went back to lifting, I deadlifted 40kg at about the same level of effort as before, 7RPE (rate of perceived exertion).’
Her clients enjoy similar benefits, too, with one going from experiencing two months of low-back pain and tight glutes from an over reliance on her hip flexors, to competing in seven sprint triathlons over two days at the Blenheim Weekend Warrior event – ‘without so much as a twinge in my back’.
Getting started with positional breathing exercises
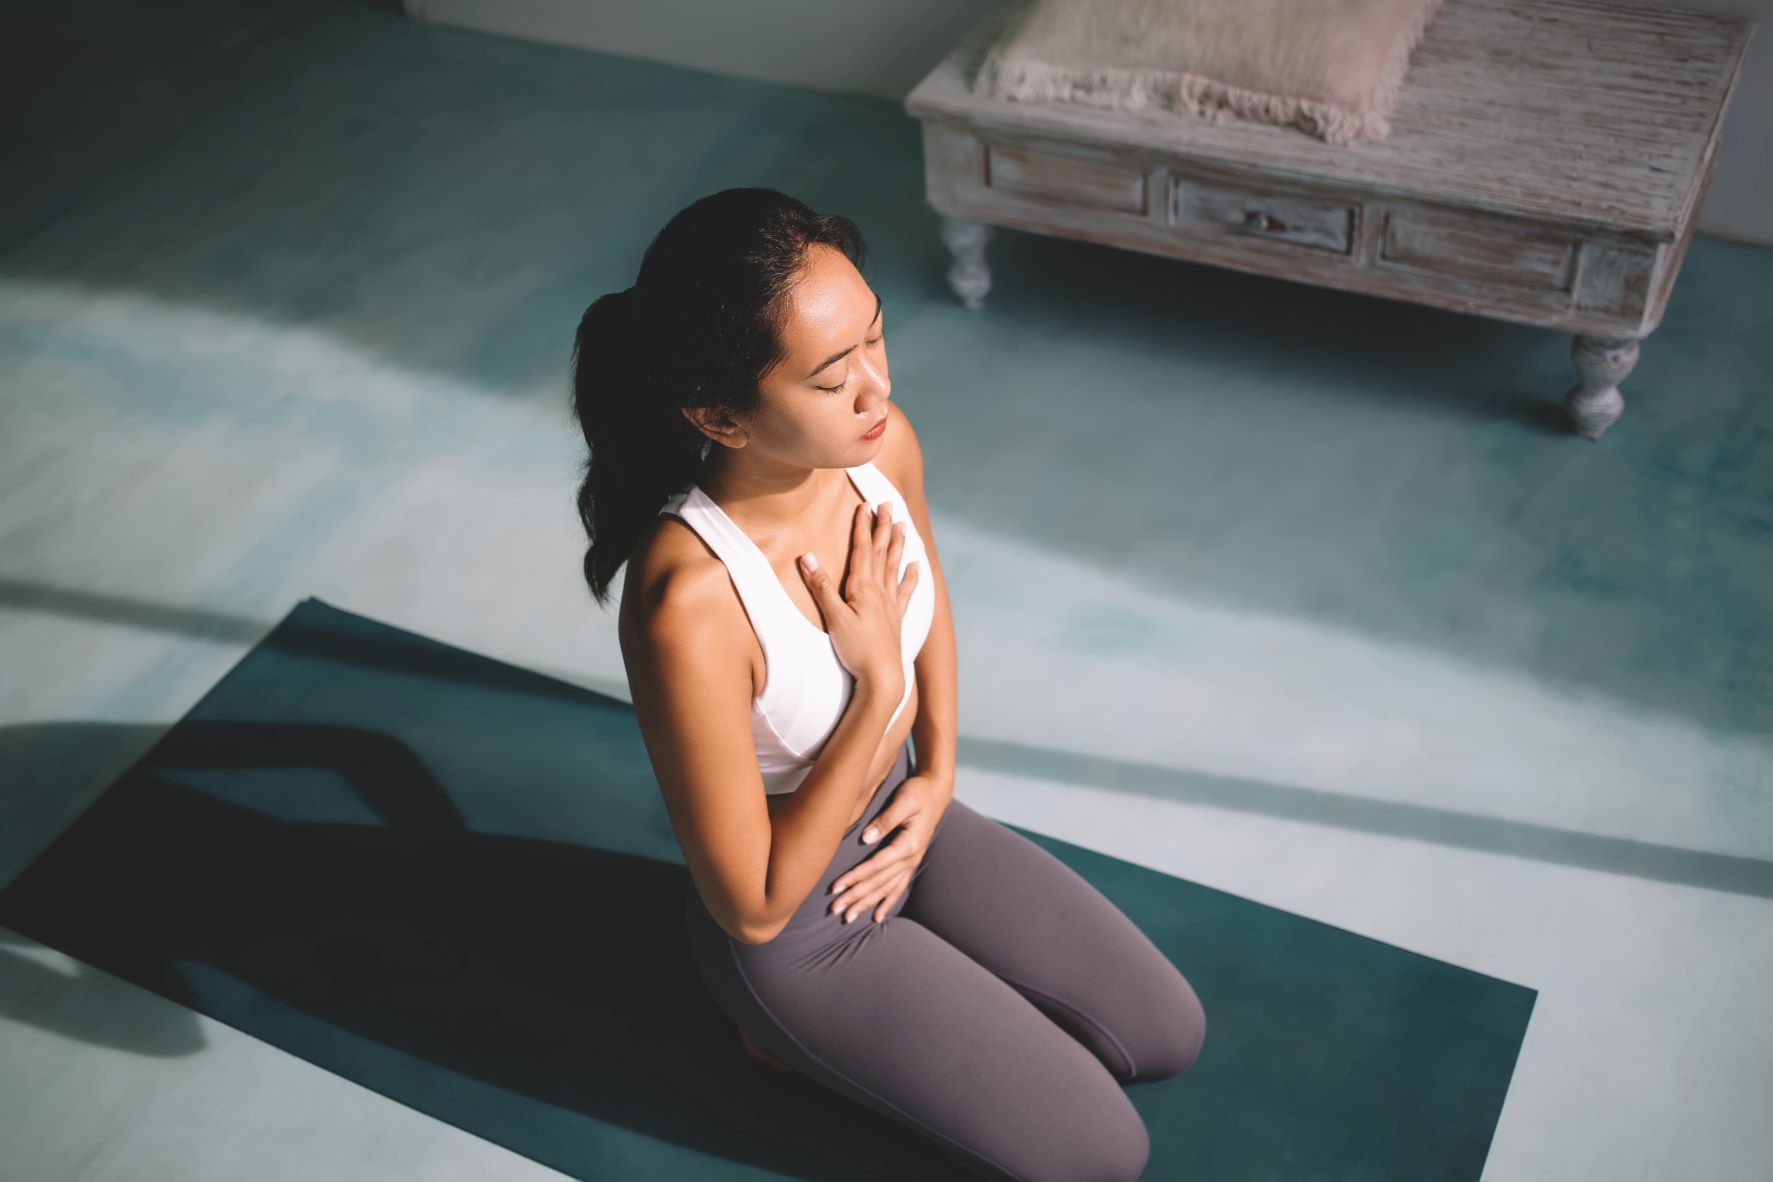
To get started with positional breathing, try this basic exercise. ‘You contact all the important parts of the process in this exercise,’ says Franke. ‘It seems small, but it’s really huge for efficiently organising your body, your nervous systems and your diaphragm.’
- Stand in a relaxed posture with your feet under your hips. Feel your heels connect with the ground and soften your knees and toes.
- Allow the back of your pelvis to round down a little towards the back of your thighs. Without gripping your butt, you’ll naturally use your upper hamstrings here, which is what you want.
- Take a soft breath in through your nose, as gently as you can. As you breathe out, get a sense of your ribs dropping away from your shoulders. Again, make it really soft and long.
- In the last 20 to 25 per cent of the out-breath, feel your lower ribs draw backwards towards your spine – you will naturally be using your oblique muscles to do this, so stay relaxed (especially in your belly) and trust your body to do what it knows how.
- After a few repetitions of this, your breath and nervous system will sync up more and the pattern will become more natural. If you’re short on time, aim to practise this breathing technique at least once a day, completing five full deep breaths. But, ideally, use it throughout the day, perhaps as you switch roles – for example, transitioning between the end of the working day and the evening, or before working out.
‘By using your breath, awareness and position, you can calm your nervous system and access a greater spectrum of movement which, in turn, gives you more access to power and leverage,’ explains Franke.
3 positional breathing exercises to try
Try these moves from Monica Franke four-to-five times a week to reap the benefits of positional breathing. See YouTube MF Body Sense and Breathing for more.
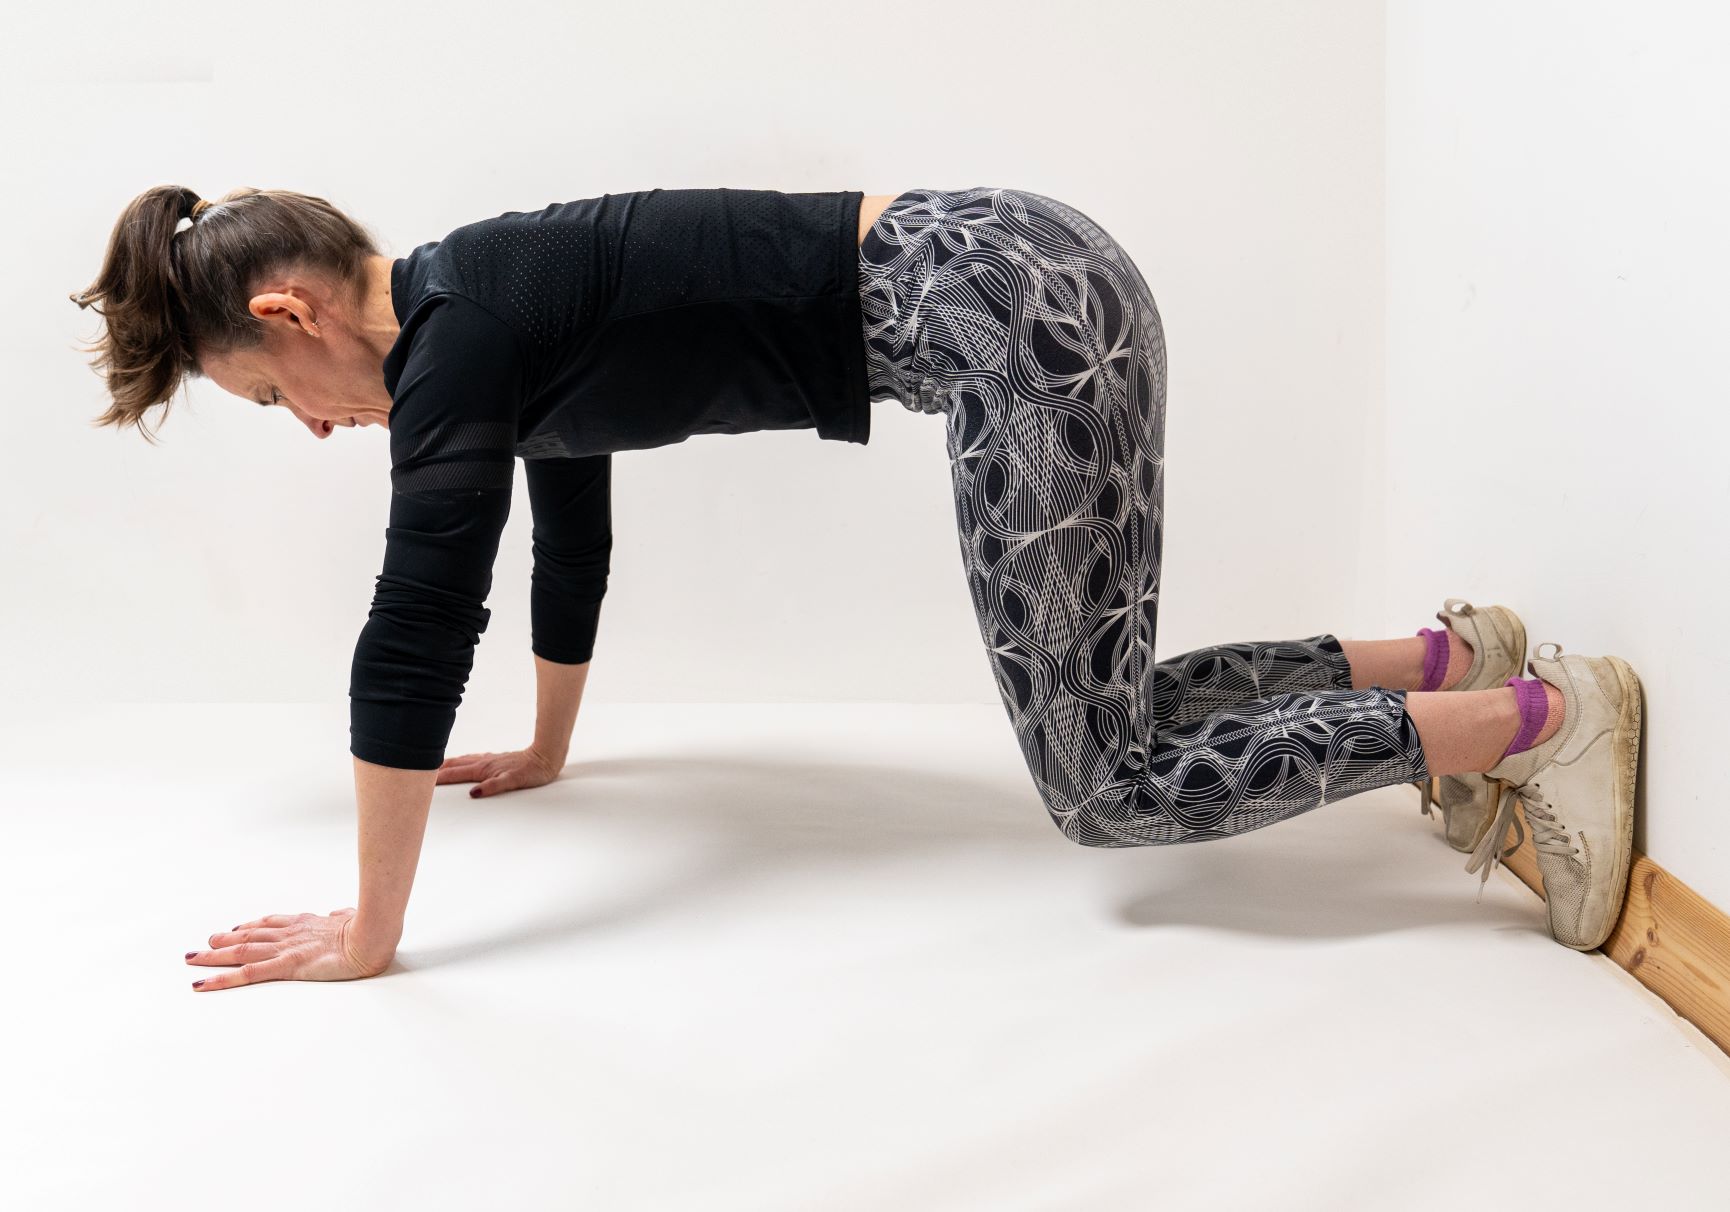
BEAR PLANK
Best for: Prehab
Benefits: Targets the heels/hamstring connection, the deep core and efficient breathing
Reps: 2 rounds of 8 slow breaths
- With your feet against a flat wall or door, come into bear plank, knees under hips, hands under shoulders. Make sure your back isn’t rounded.
- Breathe softly, letting your lower ribs come back towards your spine – especially at the end of the breath. Now keep them there.
- Lift your knees a couple of inches off the ground and focus on your heels against the wall, hips above knees and softly breathing into your upper back as if trying to create space between your shoulder blades.
- Hold for up to 8 breaths and repeat twice in all.
- This is a challenging move, so don’t worry if it takes a bit of time to get a feel for it.
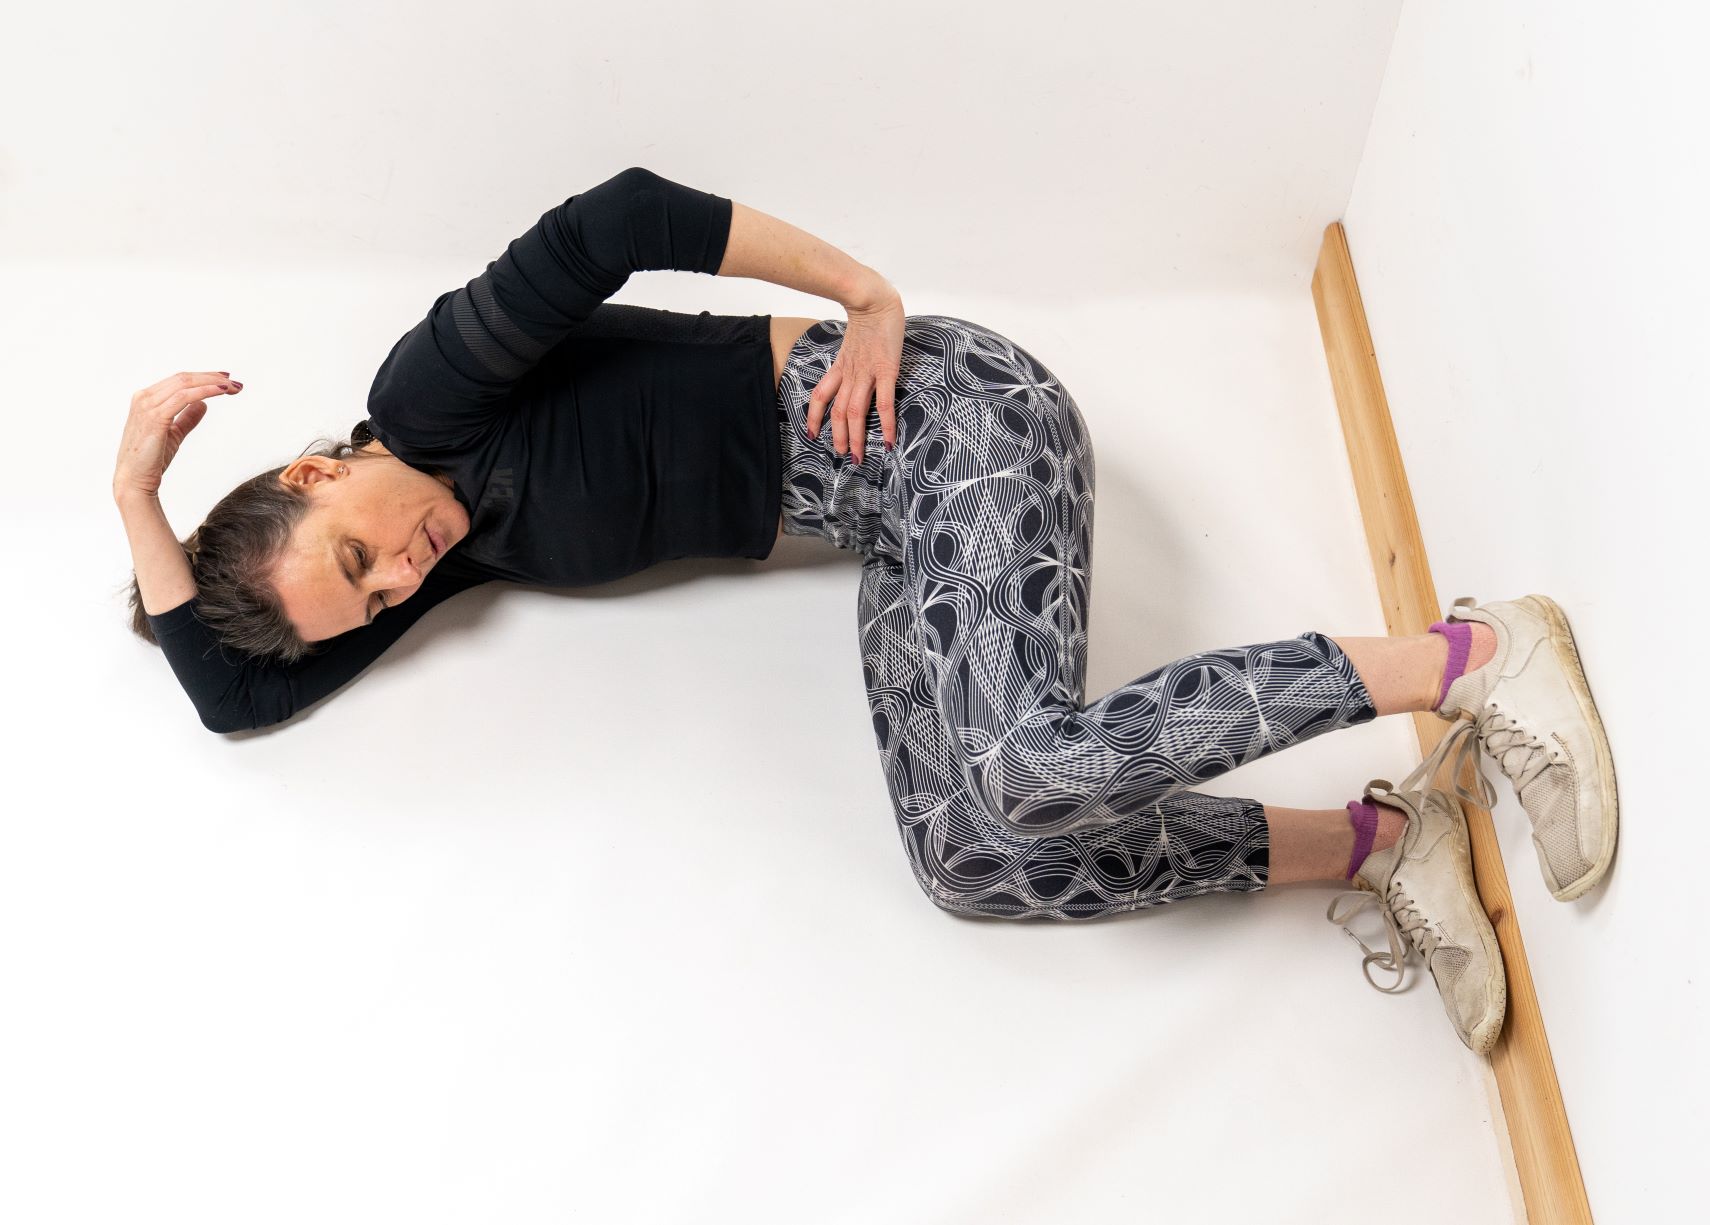
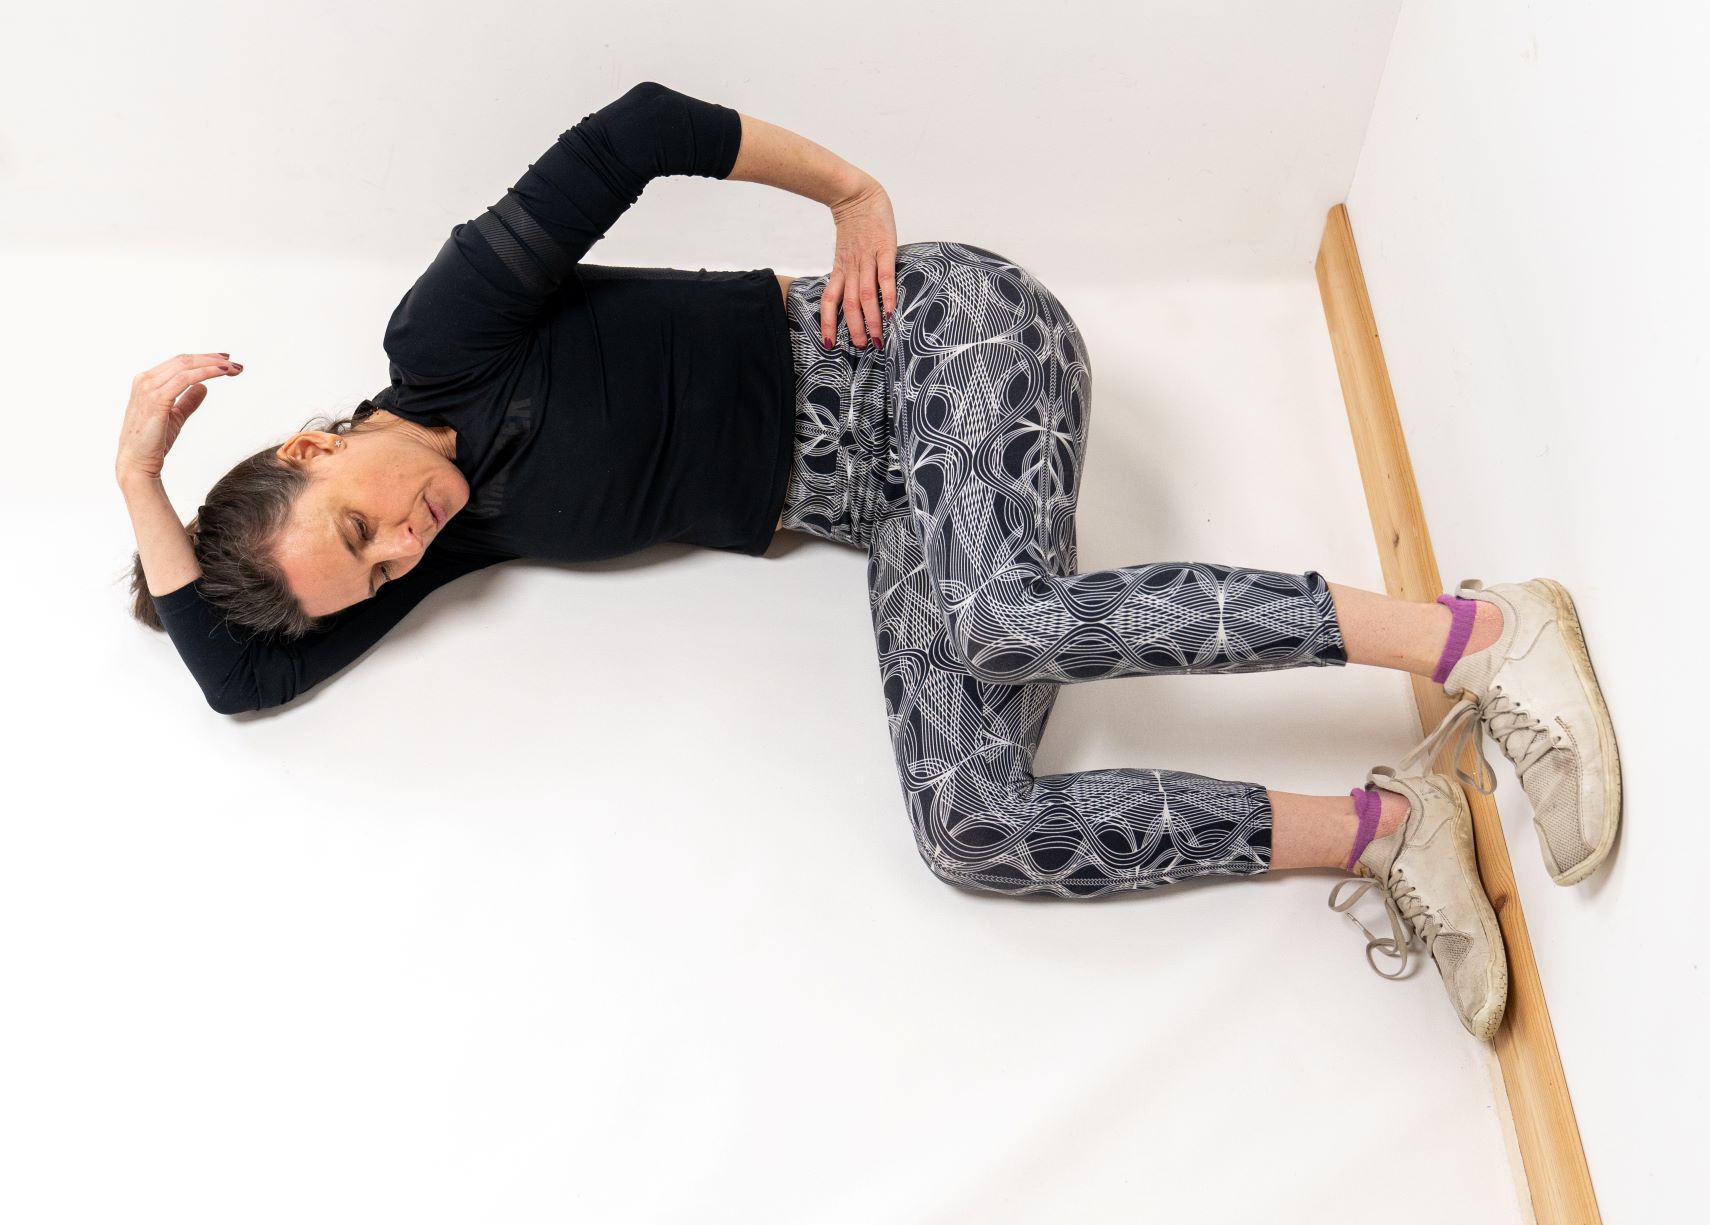
GLUTE ADDUCTOR SLIDERS
Best for: Rehab, running and strength
Benefits: Integrates the IR/ER pattern, increases spectrum of movement at hips
Reps: 5-8 slow breaths (each side)
- Lying on your right side, knees and hips bent to 90 degrees, anchor your heels into the wall to feel the upper hamstrings.
- Exhale as you lift the lower ribs slightly off the ground. Relax your toes.
- Inhale as you slide your left knee forwards, an inch or two past the right knee (below, left).
- Feel the outside of your left foot as you lift your knee.
- On an exhalation, slide your left knee back 1-2” behind the right knee (below, right), adding a little pressure on the big toe side of your left foot, letting the knee drop. Repeat 5-8 times then switch sides.
- To make it harder, place a small weight on each knee the whole time.
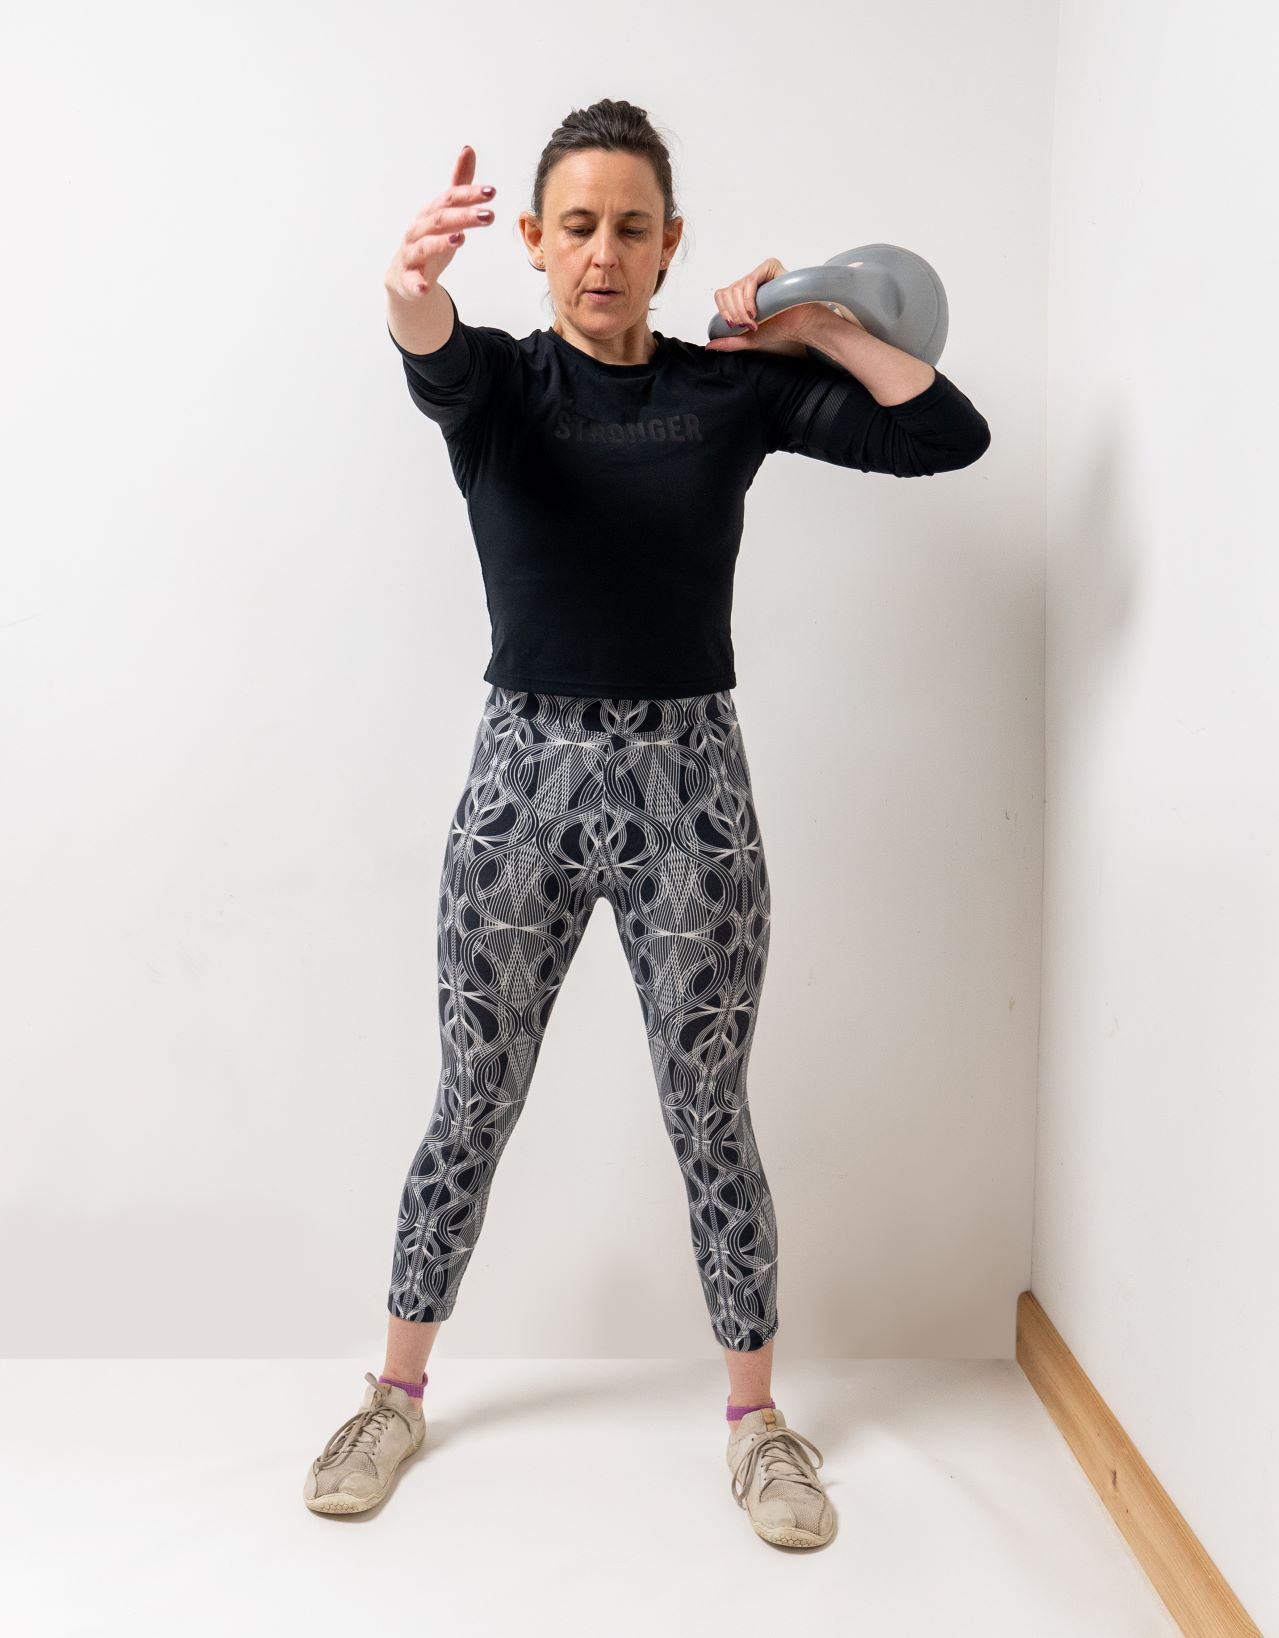
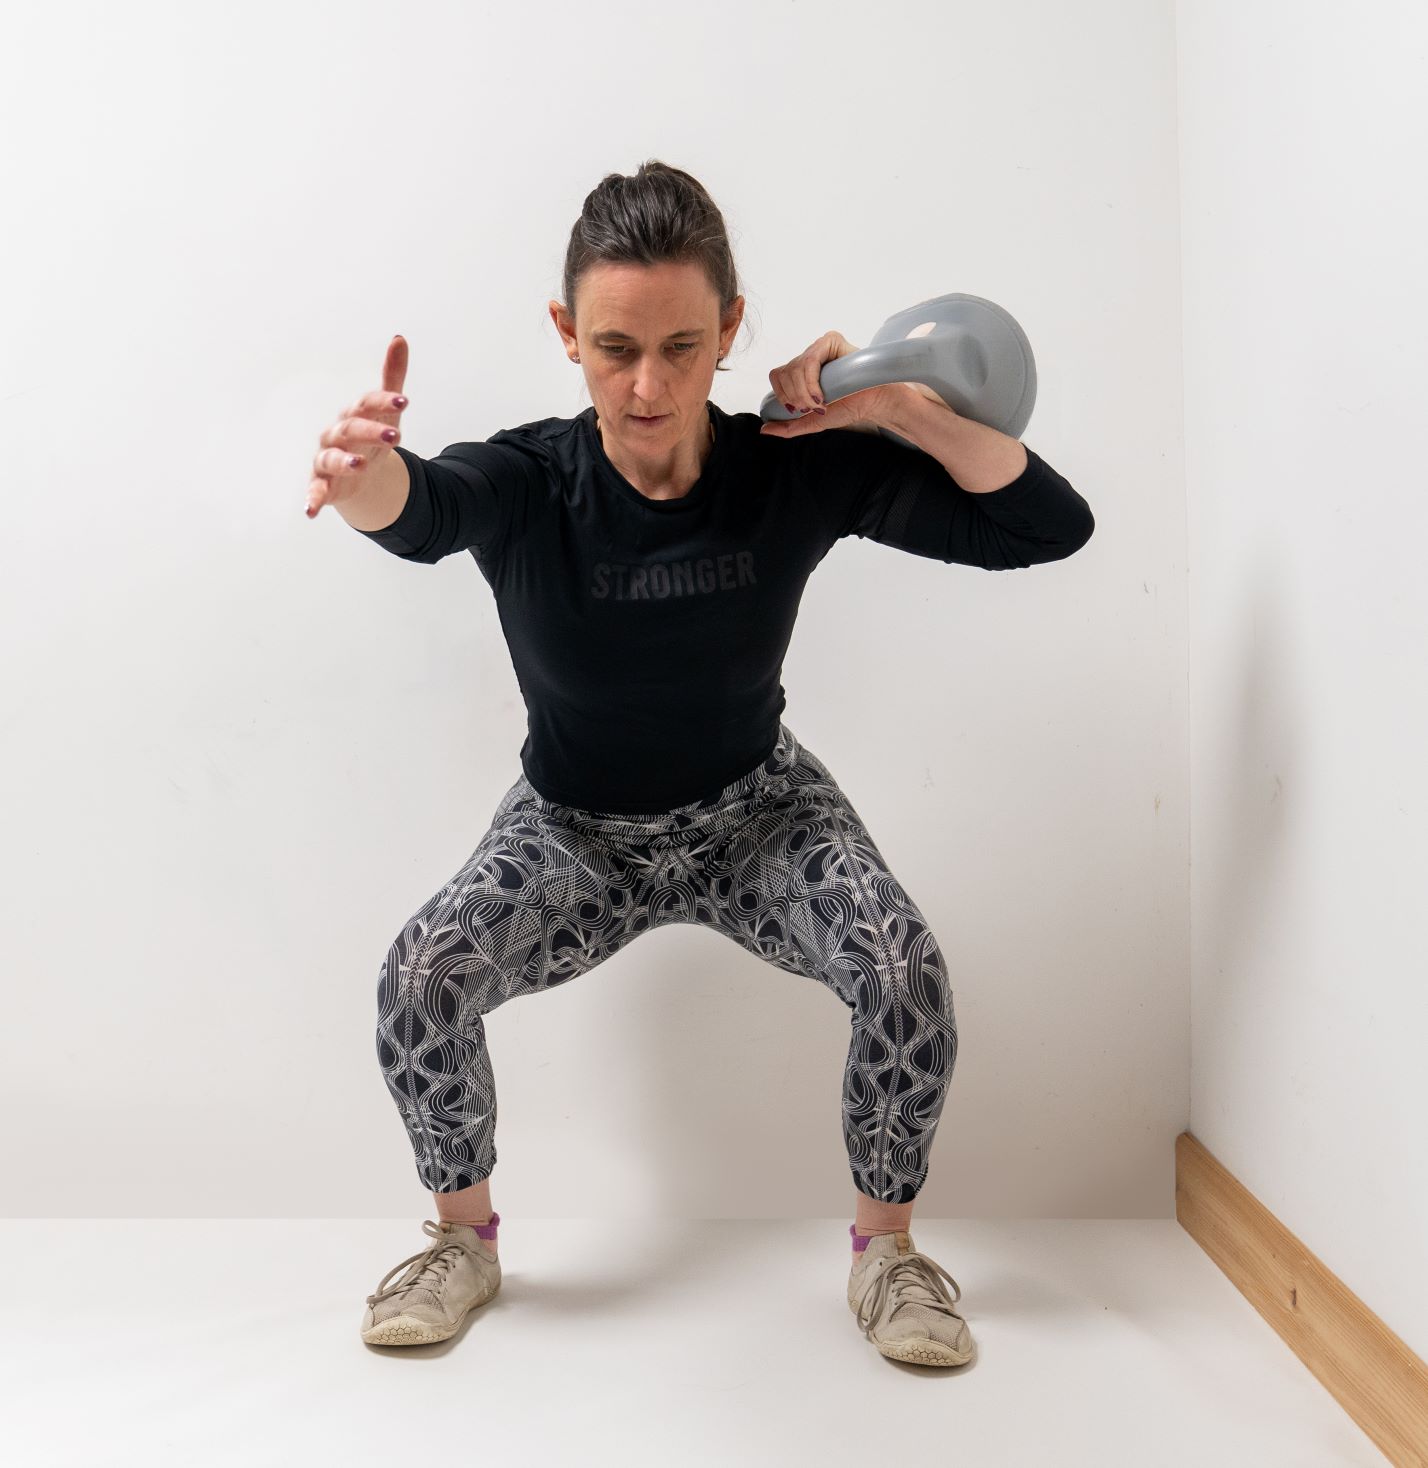
LEFT HAND KETTLEBELL SQUAT
Best for: Building strength
Benefits: Integrates breath with strength
Reps: 2 rounds of 10-12
- Come into a squat stance with your left foot 1” further back than your right. Let the back of your pelvis slightly drop, but don’t clench your butt.
- Using a low-to-medium weight, rack a single kettlebell on your left side.
- Turn your sternum very slightly towards the kettlebell.
- Breathe into your sides and back at the top, lower into a squat and push back up through your heels and mid-foot with a strong exhale.
- This gives the diaphragm and pelvic floor accentuated lift and encourages more rotation to the left.
- Do 2 rounds of 10-12 lifts.
Exercise photography and portrait of Franke: @rose.clive
Words: Eve Boggenpoel | Images: Shutterstock and @rose.clive

Personal Trainer, Joseph Webb, shares how to enhance your sport and fitness performance by training your breathing muscles…
Training your breathing muscles might not be the first thing you think of when it comes to improving your sport and fitness performance – but it could be the key to unlocking your full potential. From cycling to swimming, running to rowing, the strength of your diaphragm and inspiratory muscles directly impacts your stamina, endurance, and recovery.
When you push through your lactate threshold during high-intensity exercise, your breathing shifts from a steady 12 breaths per minute at rest to an intense 60 breaths per minute. It’s a critical part of performance – yet one often overlooked.
However, there’s a catch: as your inspiratory muscles fatigue, blood flow is diverted away from your limbs to prioritise breathing. This natural “metaboreflex” is a survival instinct, but it can hold back your performance. The good news? Strengthening your breathing muscles reduces fatigue, improves blood flow to your working muscles, and helps you recover faster.
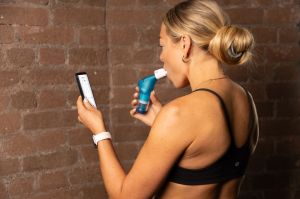
Enter POWERbreathe Inspiratory Muscle Training (IMT), dubbed the “dumbbell for your diaphragm.” Using a small device like POWERbreathe, which provides resistance when you breathe in – similar to lifting weights for your breathing muscles – IMT reduces whole-body effort, making intense exercise feel easier.
Research shows just five weeks of IMT attenuates the metaboreflex, with benefits that last even after detraining. IMT also aids recovery. Brazilian research found breathing against a light inspiratory load after exercise reduces lactate levels by 16% – equivalent to 15 minutes of passive recovery in just five minutes. And the great news is that it can be done in the comfort of your own home, in just a few minutes a day
Here’s how it can transform your performance:
Cycling: Six weeks of IMT can improve time trial performance by 4.6%, shaving up to two minutes off your 40k PB by reducing breathing fatigue.
Running: A month of IMT boosts inspiratory muscle strength, enhances 800m running performance, and reduces blood flow competition between limbs and breathing muscles.
Swimming: As one of the toughest sports for breathing, swimming places immense strain on your inspiratory muscles. Lying horizontally reduces their strength by 16%, but IMT increases stamina by 30%, helping eliminate fatigue and optimise oxygen delivery.
Incorporating IMT into your training is a game-changer. You’ll warm up, cool down, and recover faster while pushing your limits further. So, if you’re ready to breathe better and perform stronger, it’s time to train smarter.
Visit www.powerbreathe.com for more information.